In this blog post, I will share with you all of my tips and tricks for making your reading/phonics groups in first grade the best yet! Are you ready to learn some new strategies to make your groups successful and differentiated? I cannot wait to share my 7 ways to teach reading and phonics at my teacher table!
Reading and Phonics Groups
What’s the Difference between the Science of Reading and Guided Reading?
Ok- so I know you’ve probably heard these buzzwords and you may not have known what they meant, so let me give you some little background info for both! I’m not the end-all, be-all of reading groups, but I’ve had a lot of successful readers over the years, so I’m going to share with you what I’ve done and what has worked for me! I’ve had Guided Reading training and Science of Reading training, and they both have fabulous strategies that you can use to differentiate your reading groups!
Guided Reading:
Guided Reading is more of the Balanced Literacy frame of mind using reading levels to group your students into groups. So for example, if you have students ranging in levels A-I, then you would divide your students into groups of 4 or 5. These groups would be the same or close to the same reading level, depending on the size of your class.
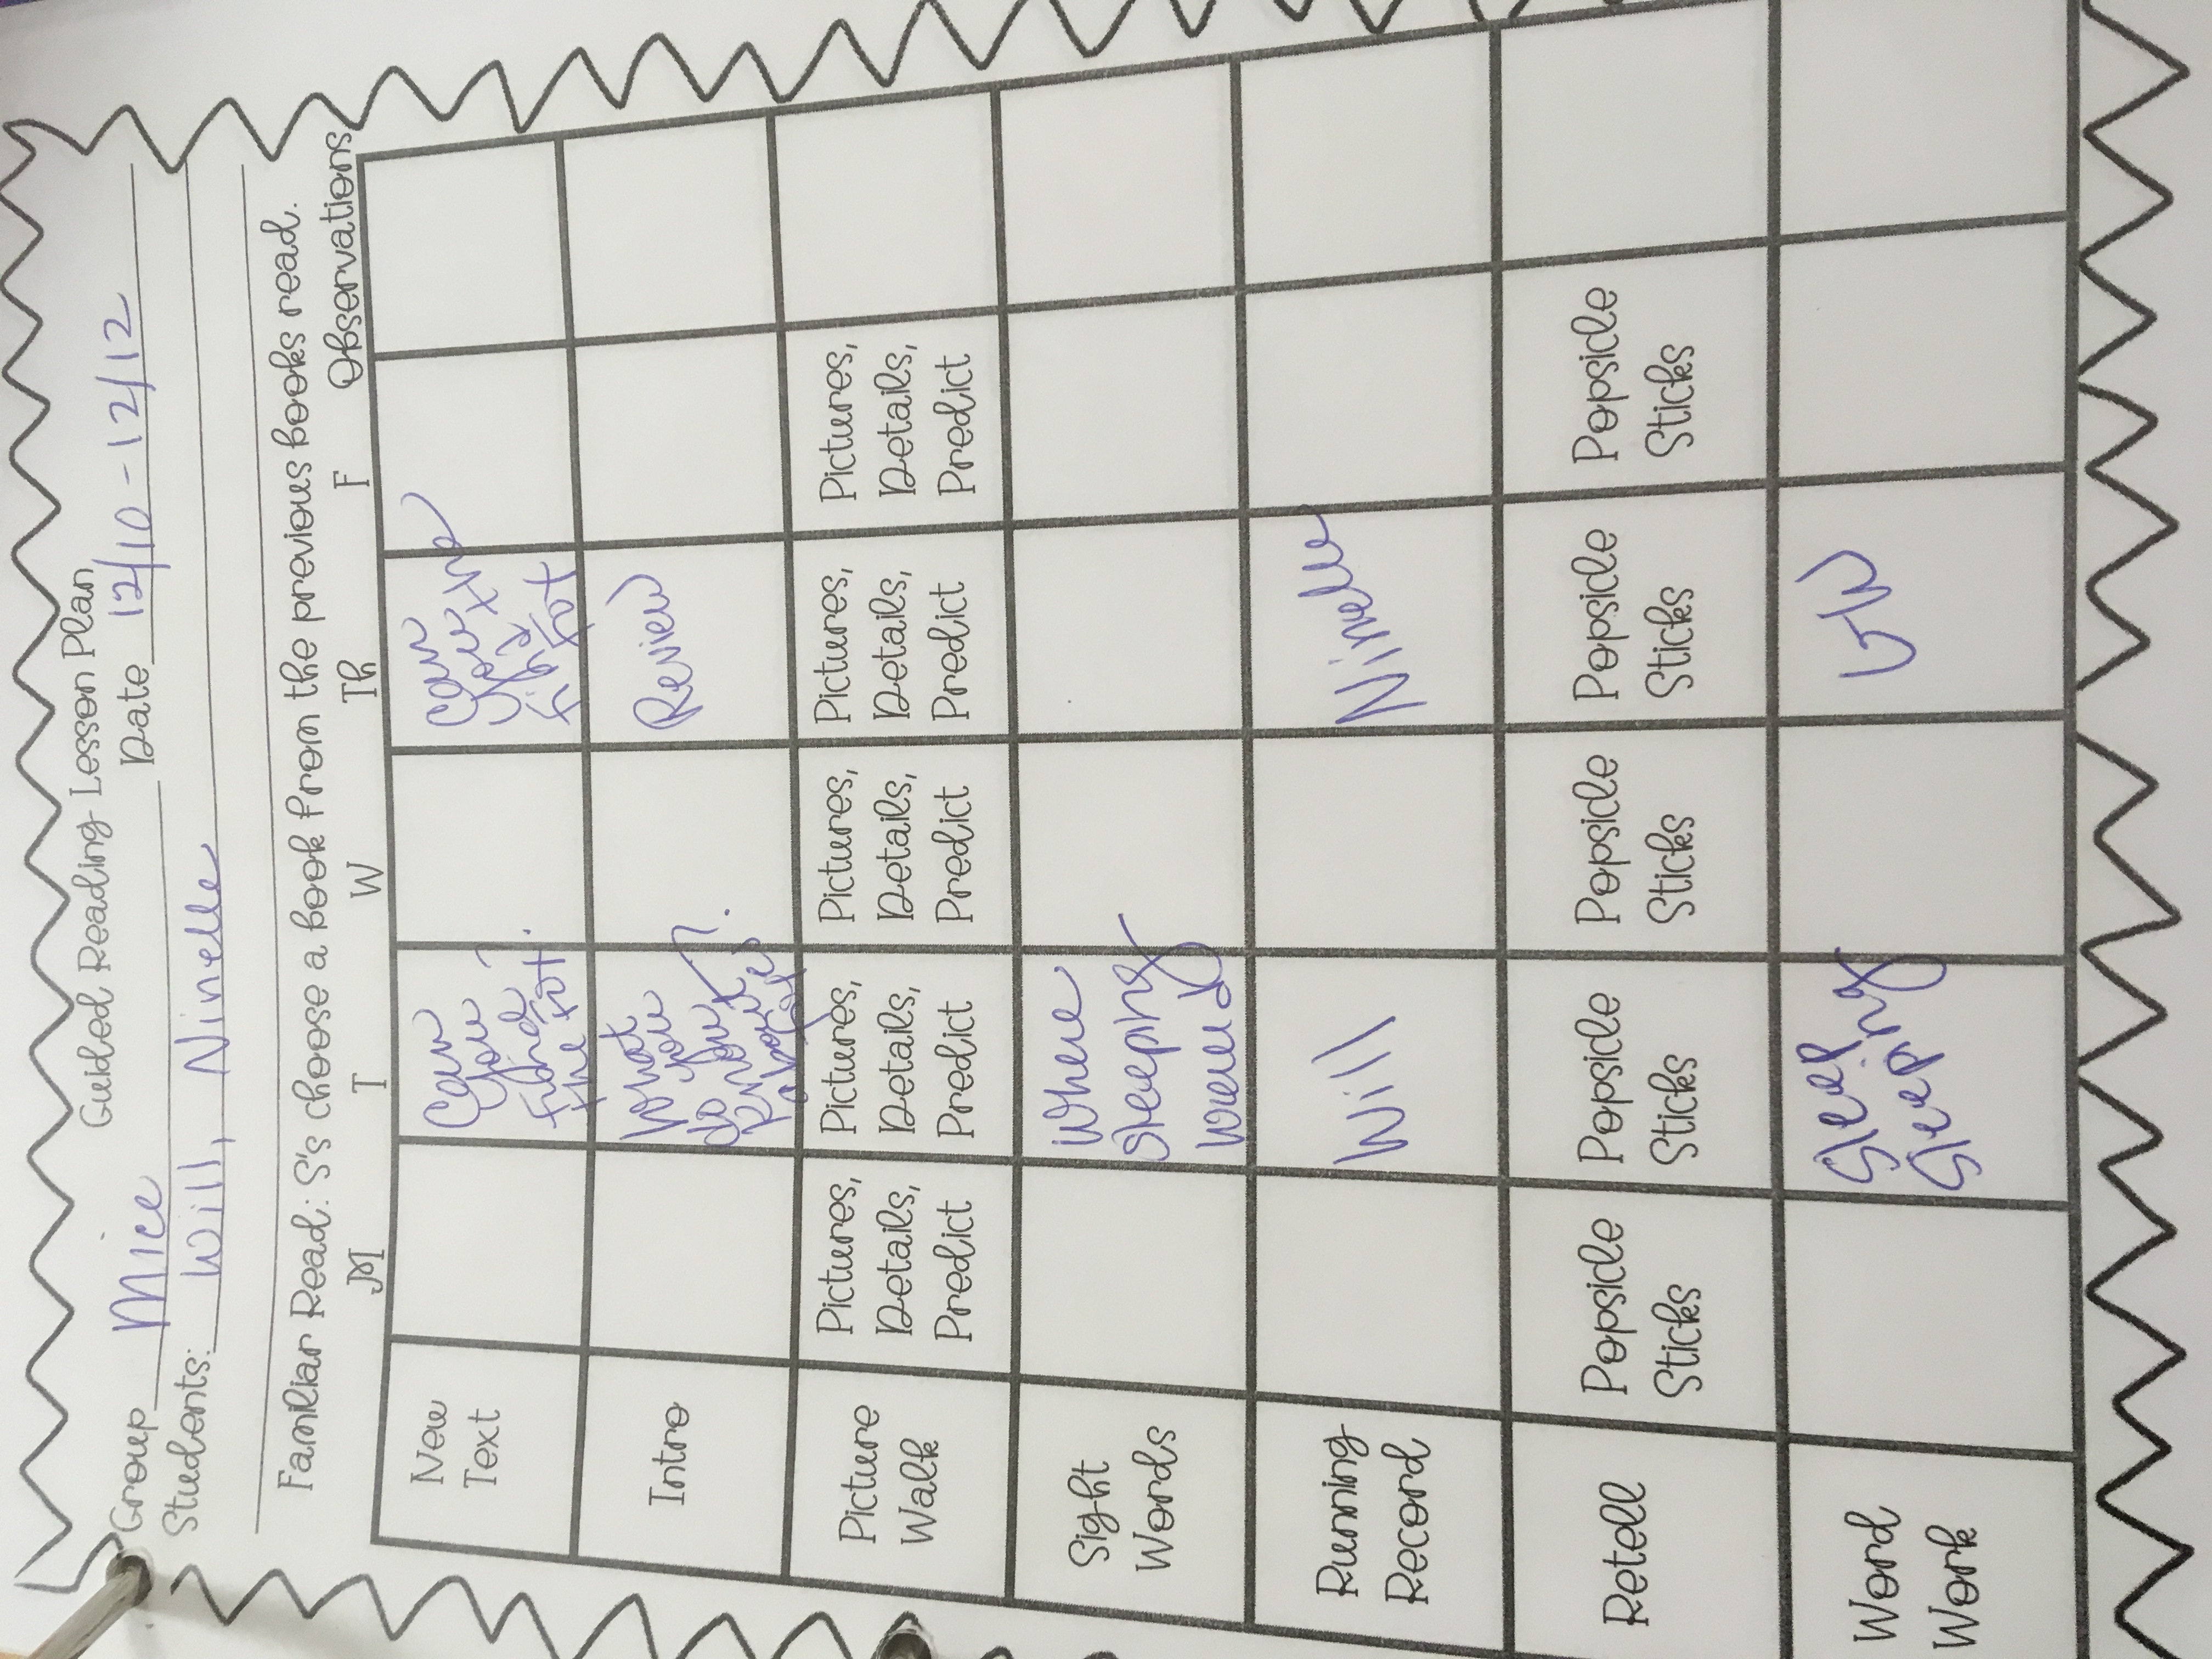
For guided reading, you would use the leveled books to drive your instruction- here’s the sequence of the lesson: preread old books, intro to sight words, picture walk, read a new leveled book, and word work at the end. This whole lesson would take about 15-20 minutes. I would teach my students reading strategies to help them read the words such as: Frame the Word, Sound it Out, Get Your Mouth Ready, Skip and read on, Think about words I know, Look at the Picture, and Chunk the Word.
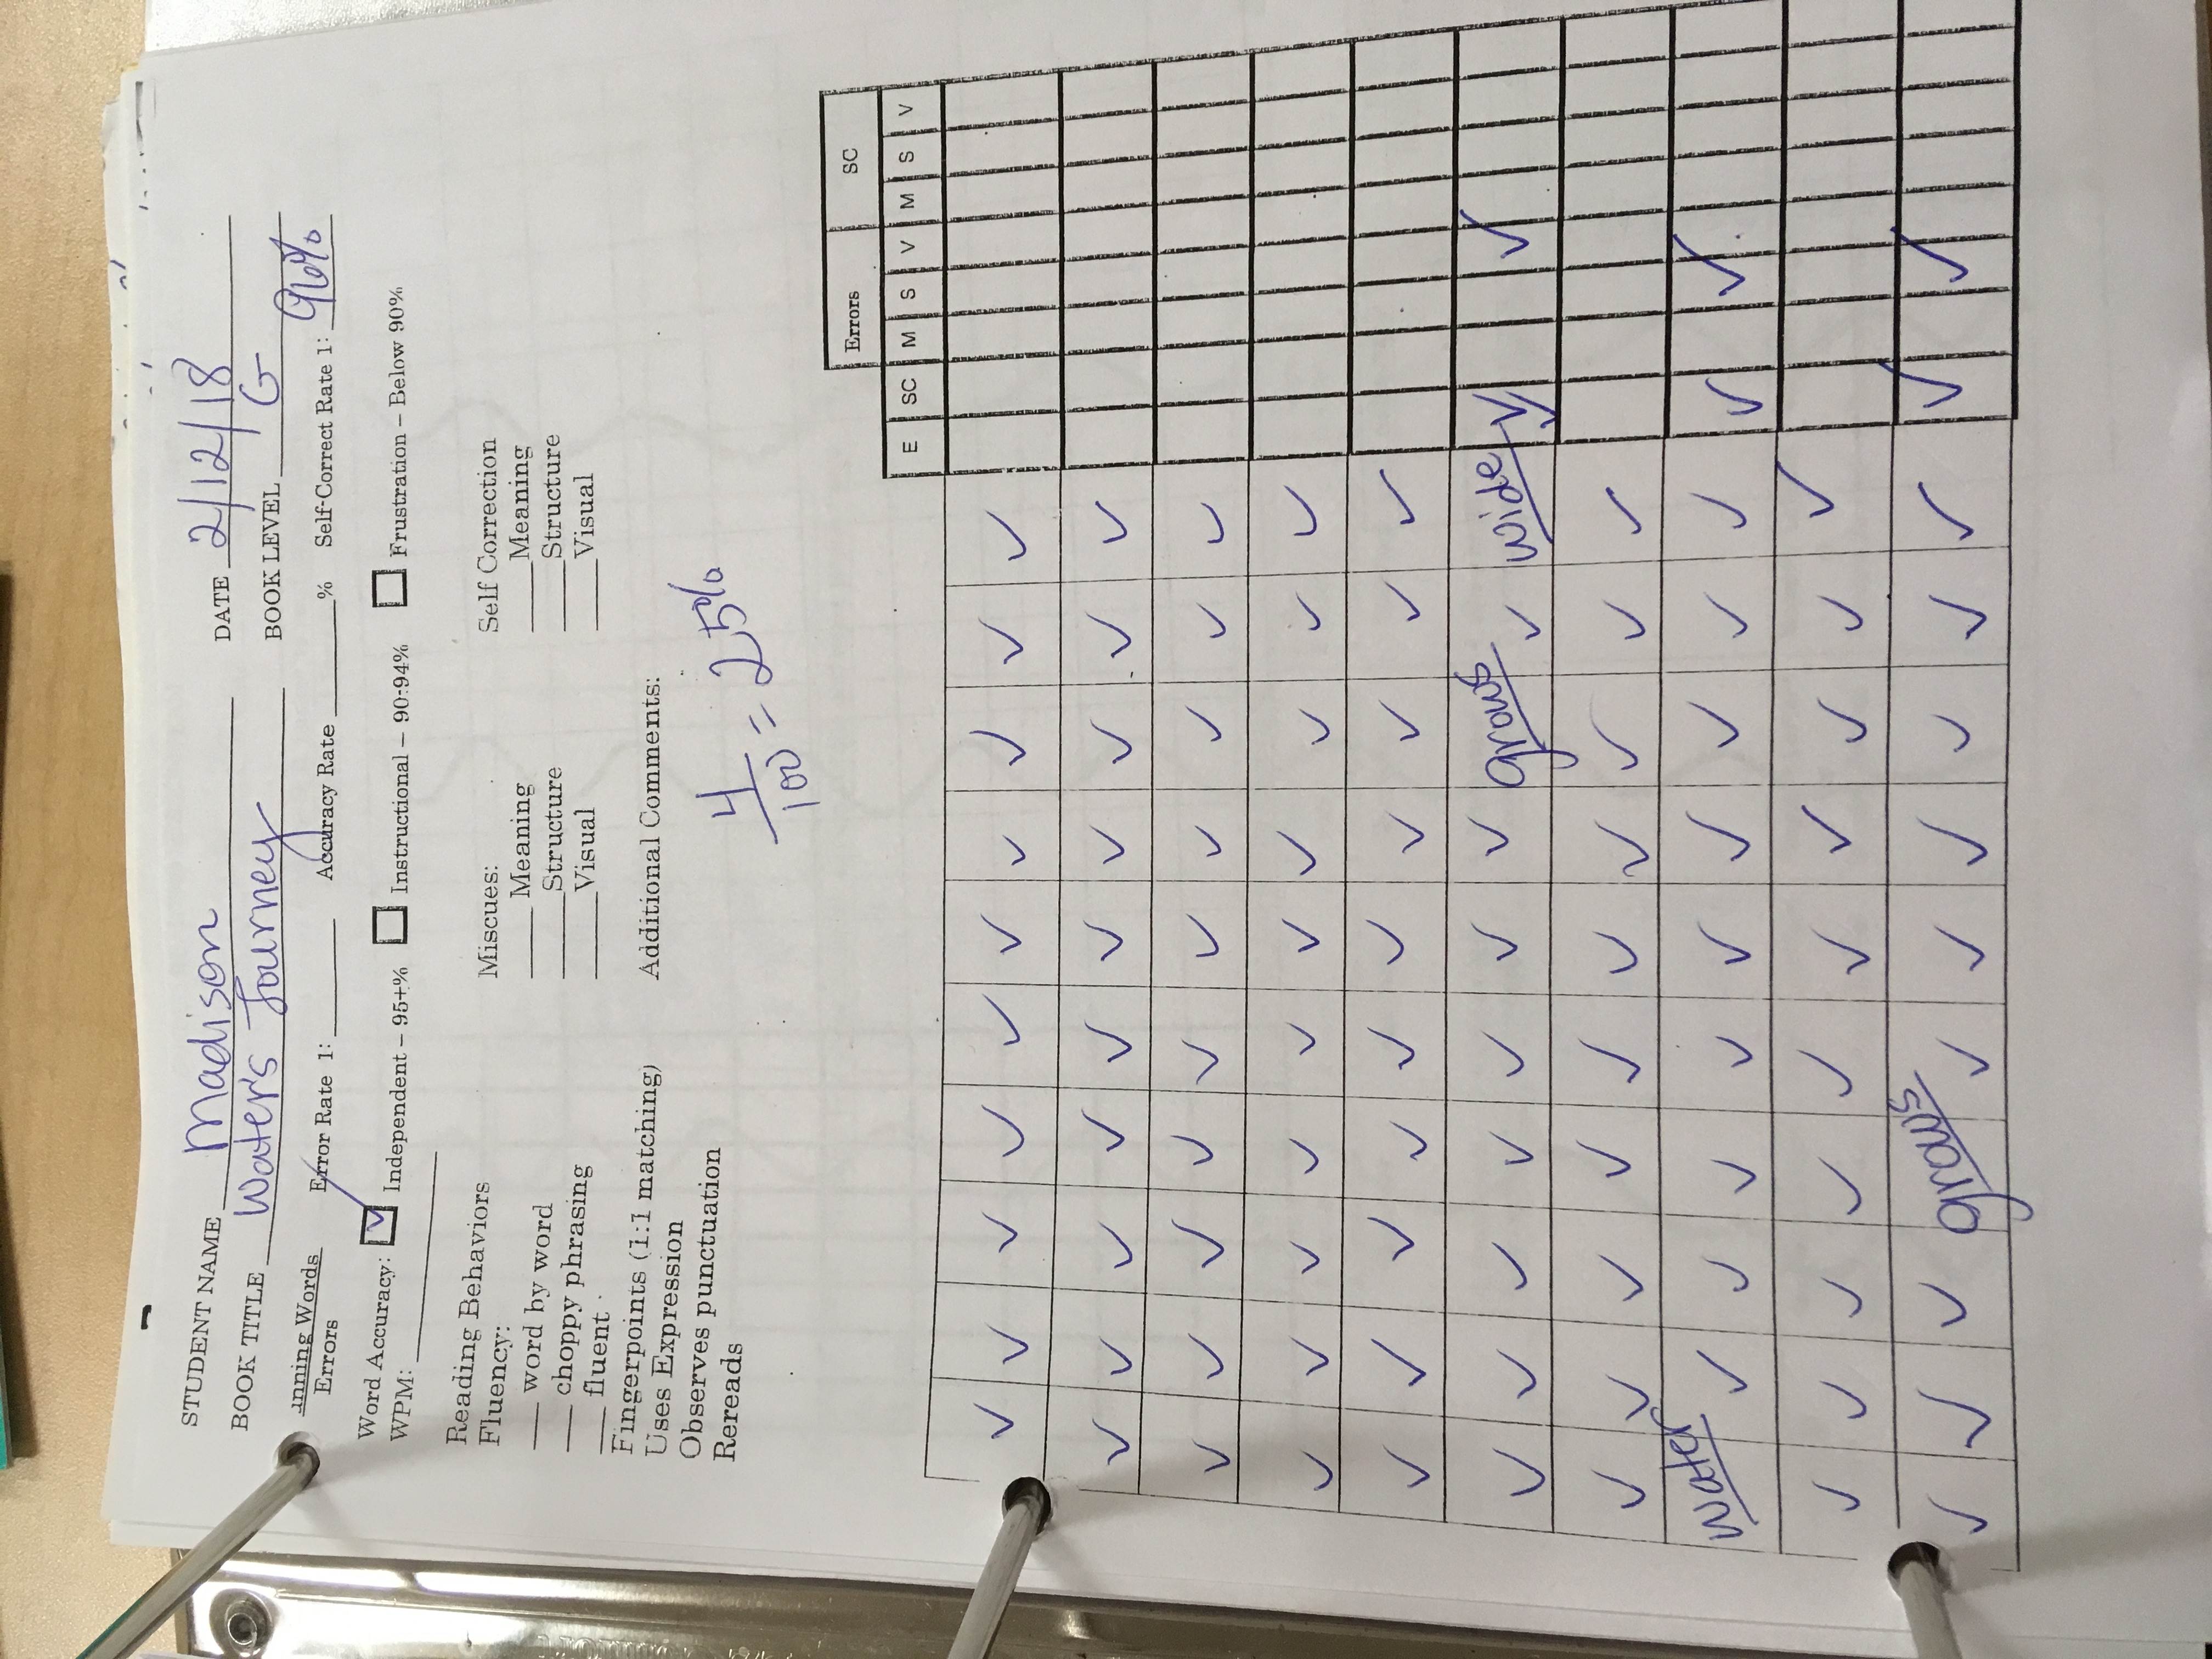
If I had a class of 22 students, then I usually would have 5 reading groups with 4-5 students in each. Each day I would listen to a new student read and take a running record. In case you didn’t know, a running record has 100 boxes and you put a check for each word they read correctly and an error for each word read incorrectly. You would add up all the errors and divide that number by 100. If they scored 95% or higher, then the level is independent. If they scored 90-94%, then the level is instructional. And, if they scored below a 90%, then it was frustrational. This was how I did my progress monitoring.
If you’re interested in checking out my Guided Reading resource with editable lesson plan templates and reading strategy posters, click here.
If you’re interested in checking out how I taught my guided reading groups, check out my YouTube Channel:
This is how I’ve taught my reading groups for years and I was very successful! But, new research says that by teaching this way, some students don’t learn to read as fast as others because of dyslexia or a learning disability. This is because their brain doesn’t grasp some of these reading concepts and strategies unless phonemic awareness/phonics is explicitly taught. So, that’s how the Science of Reading came into existence.
The Science of Reading:
The new research says that explicitly teaching phonics/phonemic awareness-based instruction allows the student’s brains to grasp the phonics concepts first so that later, they will be able to decode words more easily. And, I totally agree- In this approach, you would group your students according to their phonics needs such as phonemic awareness, sound mapping, decoding, word segmenting, and sentence dictation. In my classroom, I had a mixture of both SOR groups and GR groups. I believe that using both types of approaches to reading can help meet more of the needs of your students, especially for your low babies and high soaring readers.
So last year, I had 3 groups using the Science of Reading strategies and 2 groups using Guided Reading strategies. I grouped my high students according to their reading level/fluency/comprehension and grouped my low students according to their phonemic awareness/phonics assessments. So see- you can really do both! You just have to know the difference between the two so you can easily differentiate the needs of your students. As the year went on, it was awesome to see my students progress from a phonics-based group to a guided reading group. What a big accomplishment!
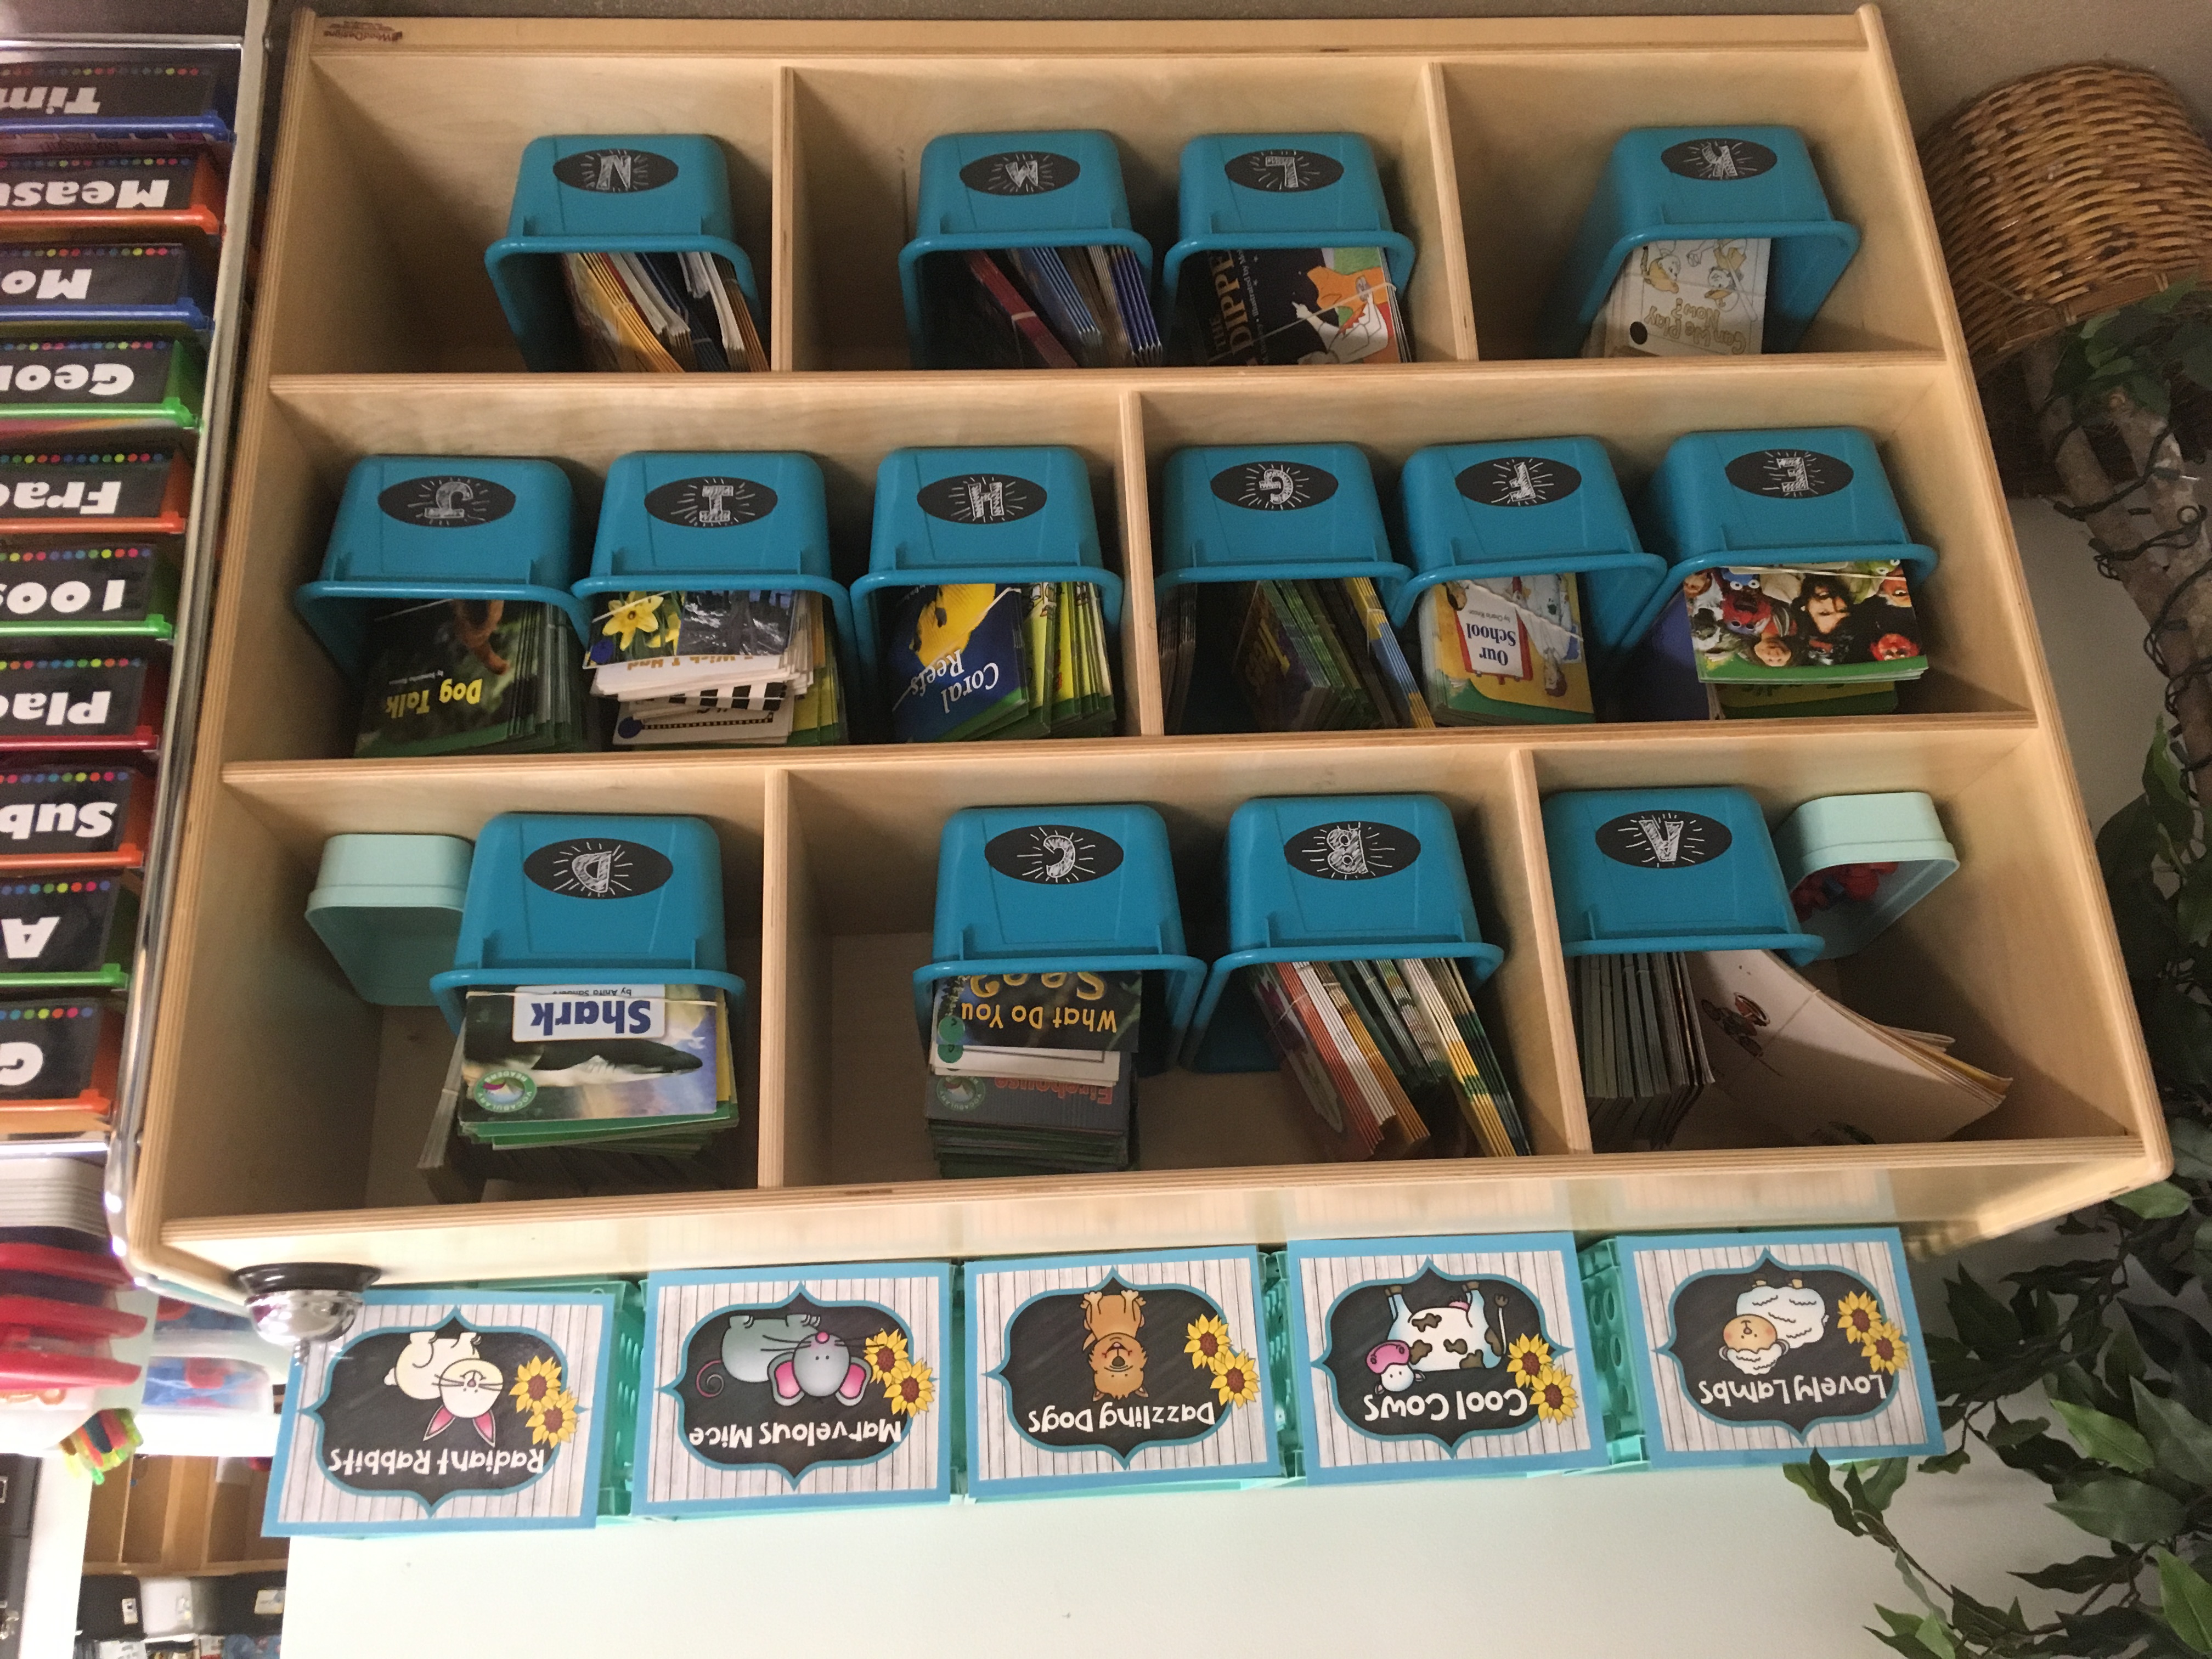
How Do I Group My Students for Reading/Phonics?
First of all, your district probably provides you with a reading/phonics assessment to give as a guide to divide your students into reading/phonics groups. For example, DRA, McCLASS, iStation, and District Assessments such as Reading and Phonics Benchmarks. Once you have the data from your assessments, then you can decide how you want to group your students. Here are some different groups that met different skills for my first-grade students. If you notice, I have 3 ways of grouping for the Science of Reading and 4 ways of grouping for Guided Reading.
Science of Reading Groups:
1.) Phonemic Awareness/Sound Wall – LOW GROUP
2.) Sound Mapping/Sentence Dictation- LOW MIDDLE GROUP
3.) Decodable Reading/Sentence Dictation – MIDDLE GROUP
Guided Reading Groups:
4.) Reading Fluency- MIDDLE or HIGH GROUP
5.) Reading Comprehension- MIDDLE or HIGH GROUP
6.) Guided Writing – ALL GROUPS
7.) Literature Circles- HIGH/GT GROUP
1.) PHONEMIC AWARENESS/SOUND WALL- LOW GROUP
In my low-reading group, we work on phonemic awareness using Heggerty. If you’re not familiar with Heggerty, it’s a phonemic awareness-based curriculum that is strictly oral. I say a word and then we change the beginning, middle, or ending sound by listening to the directions. It has blending, word segmentation, sound mapping, and more! It also has hand motions with each skill. I love using Haggerty because it’s an easy, simple, and quick way to practice phonemic awareness. It only takes about 5 minutes and the students LOVE it!
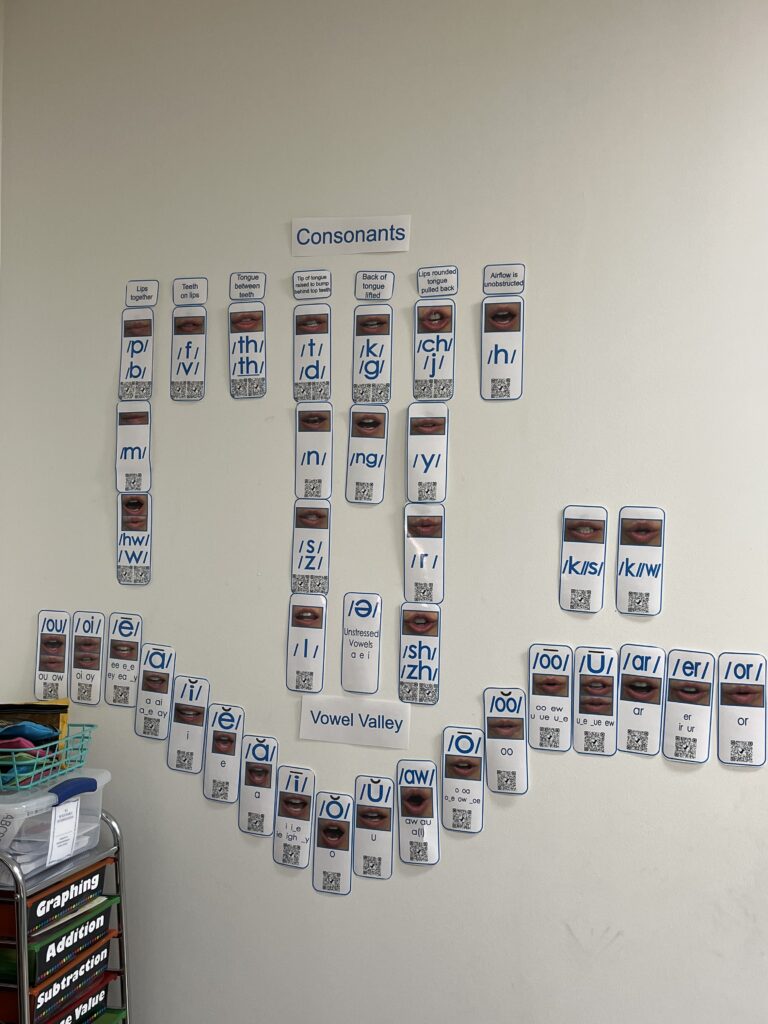
Another fun thing I do with my low group is identifying sounds on our sound wall. If you’re not familiar with a sound wall, they are sound cards that have the letter and show how your mouth forms for that letter. An example of a sound wall can be a “Vowel Valley”. A vowel valley makes a “V” on the wall with the different vowel sounds from the smallest to the largest opening of the mouth. The smallest opening is at the edges of the “V” and the largest opening is at the bottom of the “V”.
This shows the difference in how your mouth and lips look for each sound. Some students have a really hard time making the sound and they do not know how to position their mouth correctly. This concept is extremely challenging for students with speech issues. So, having a sound wall next to your teacher table will help those students to visualize the sounds you are asking them to make.
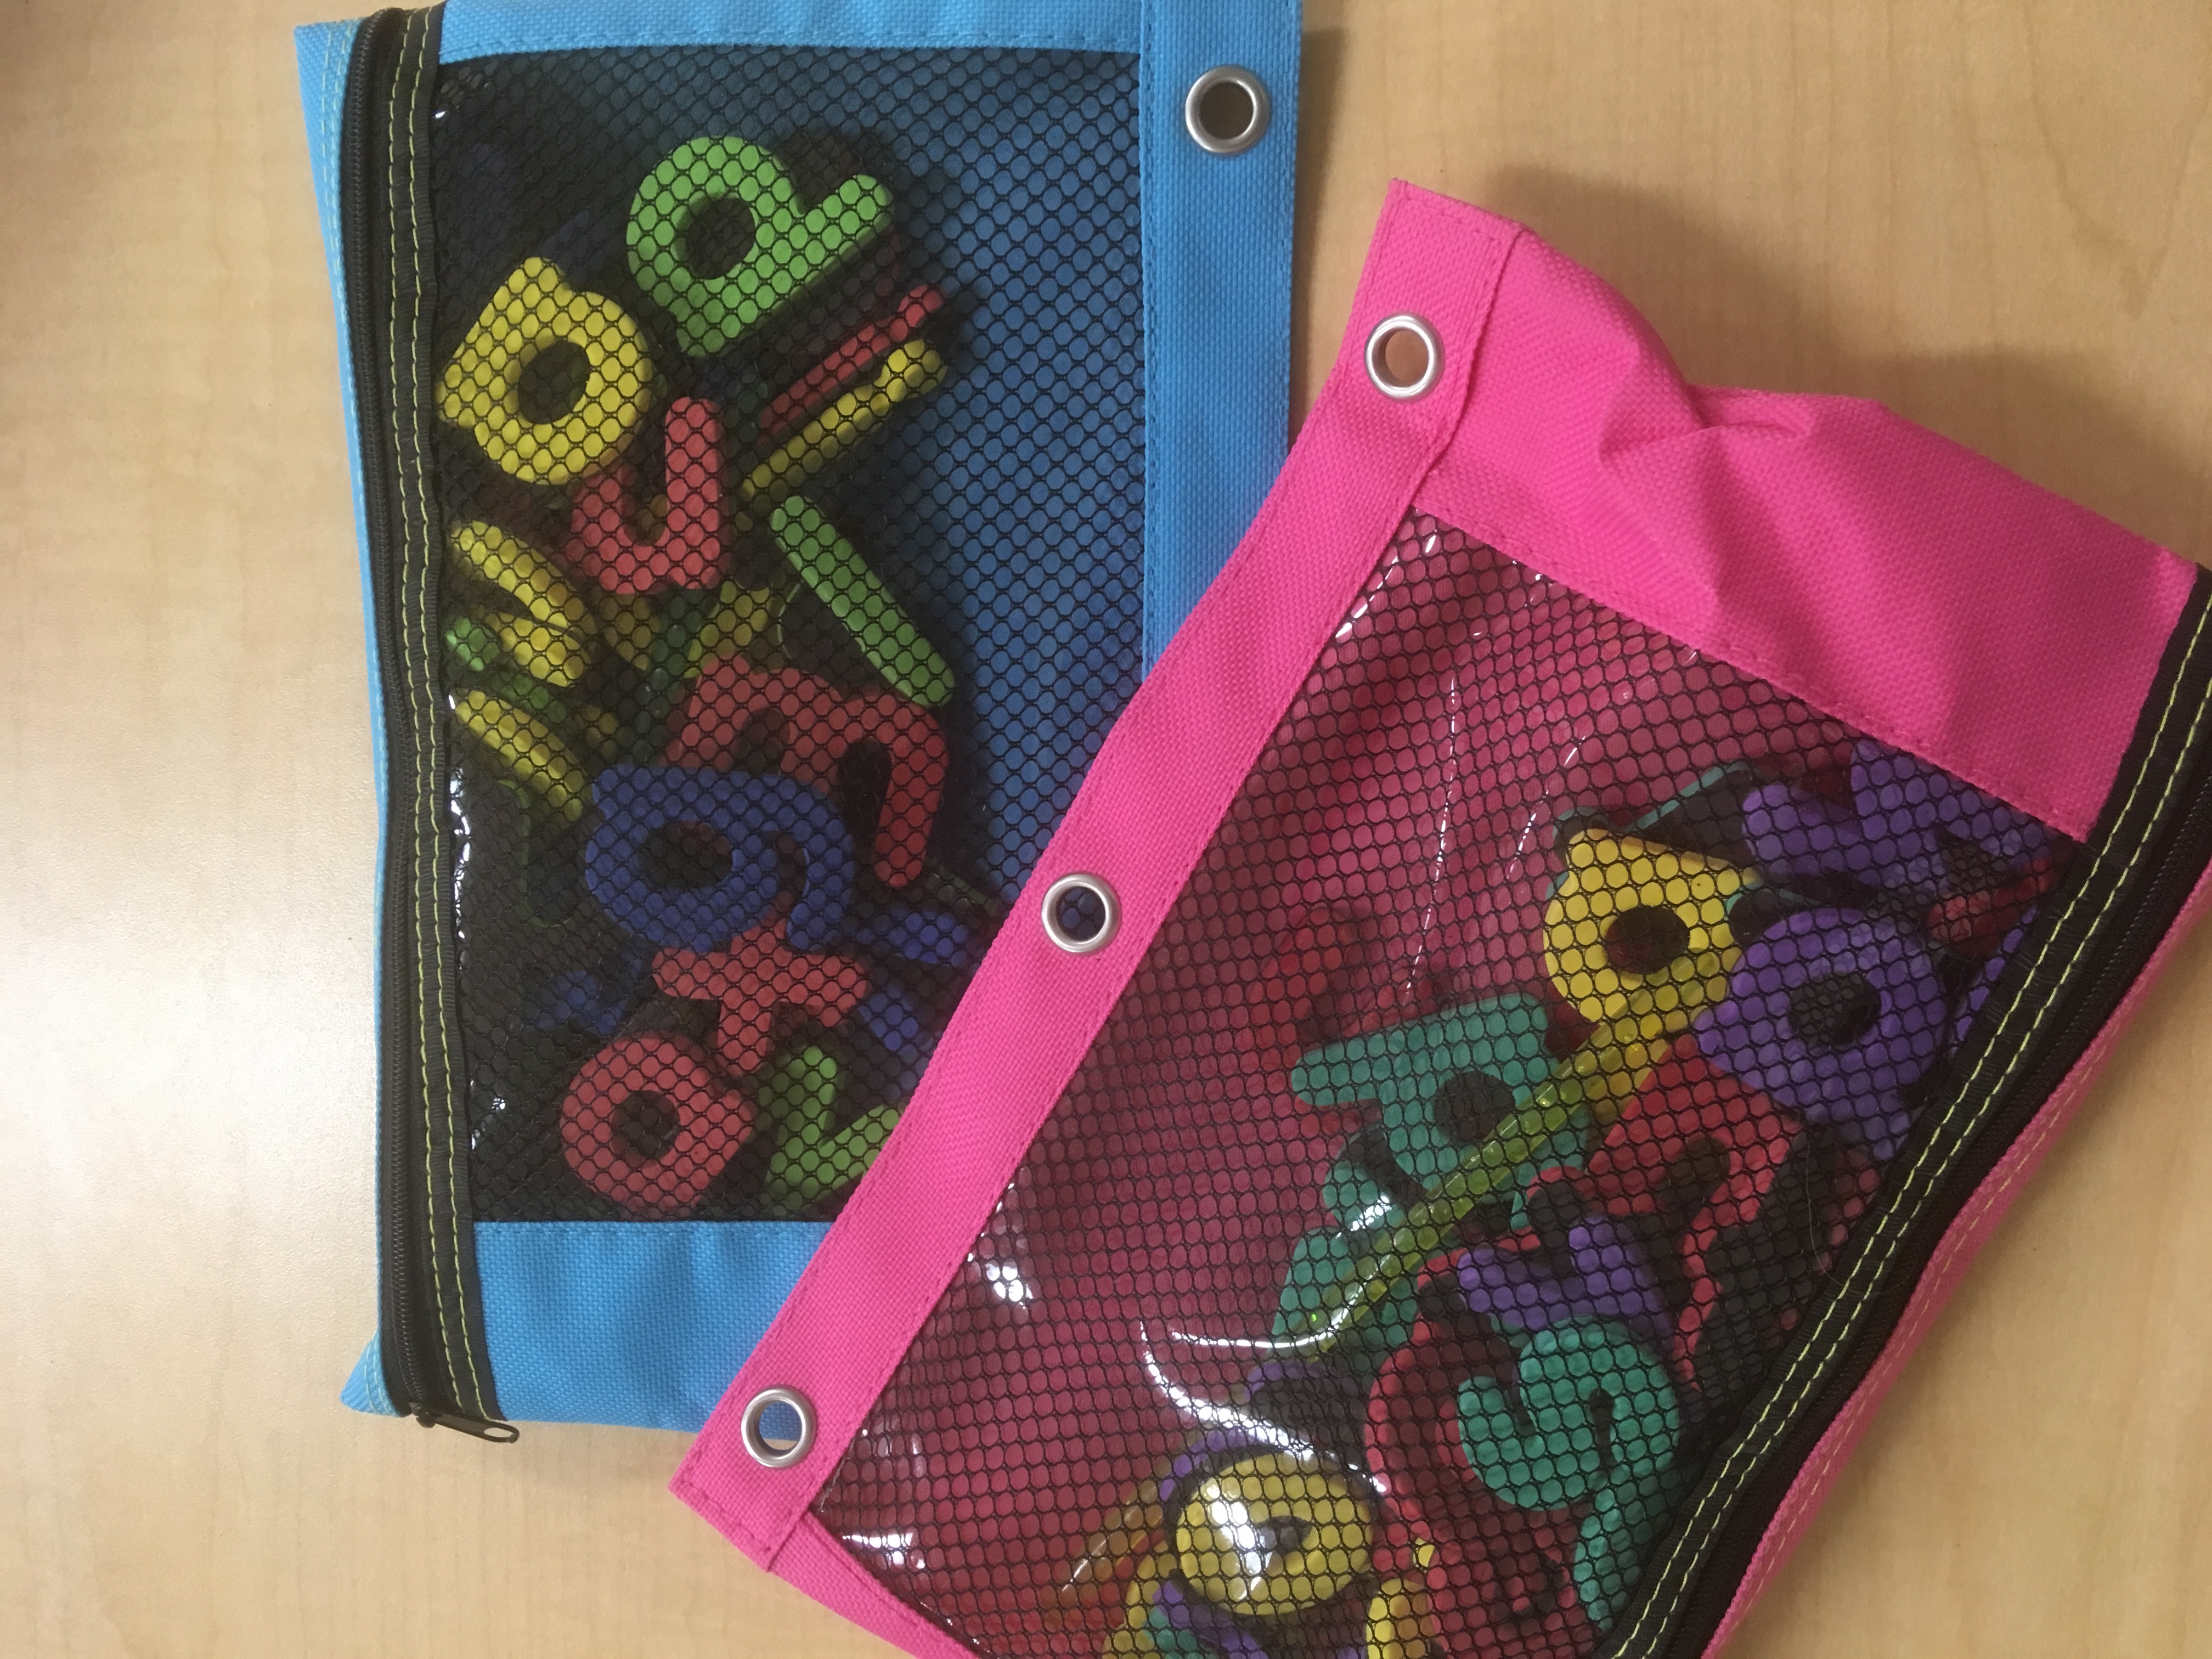
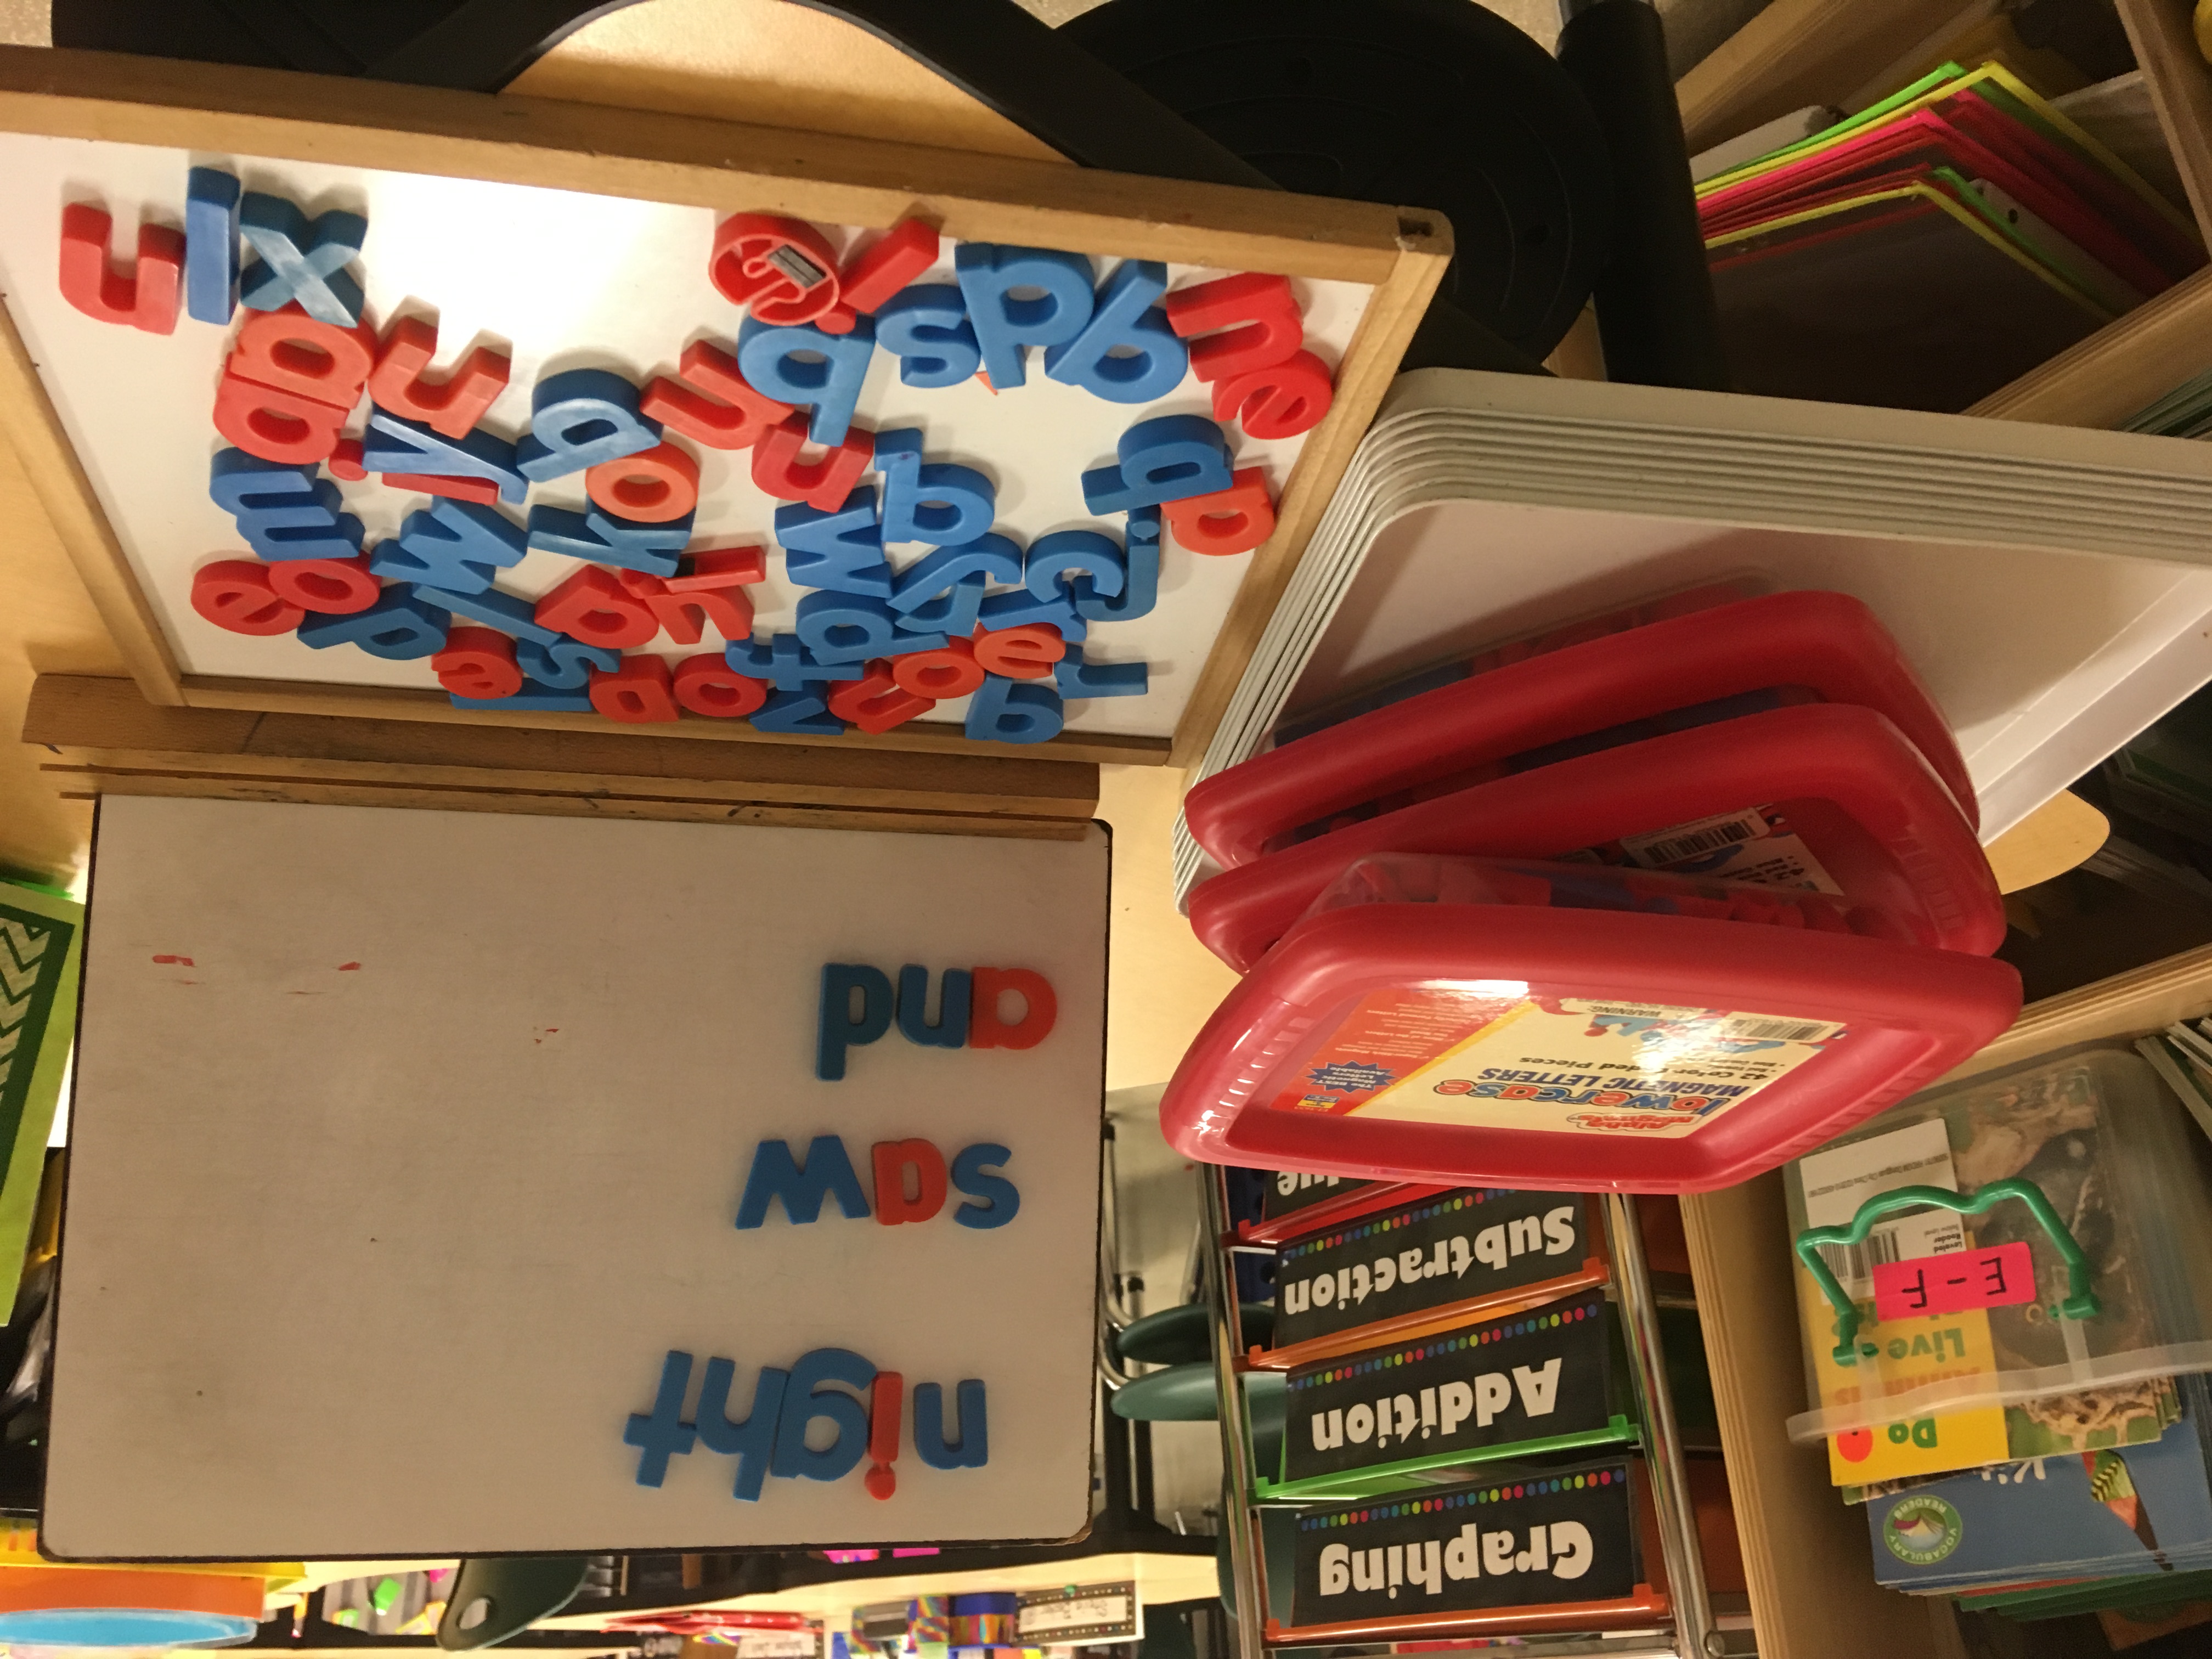
At the end of the lesson, we work on word work. My students use their whiteboard and magnetic letters to practice making letters/sounds/and CVC words. I make the words on my teacher whiteboard, and they practice writing them on their board.
2.) SOUND MAPPING/SENTENCE DICTATION- LOW MIDDLE GROUP
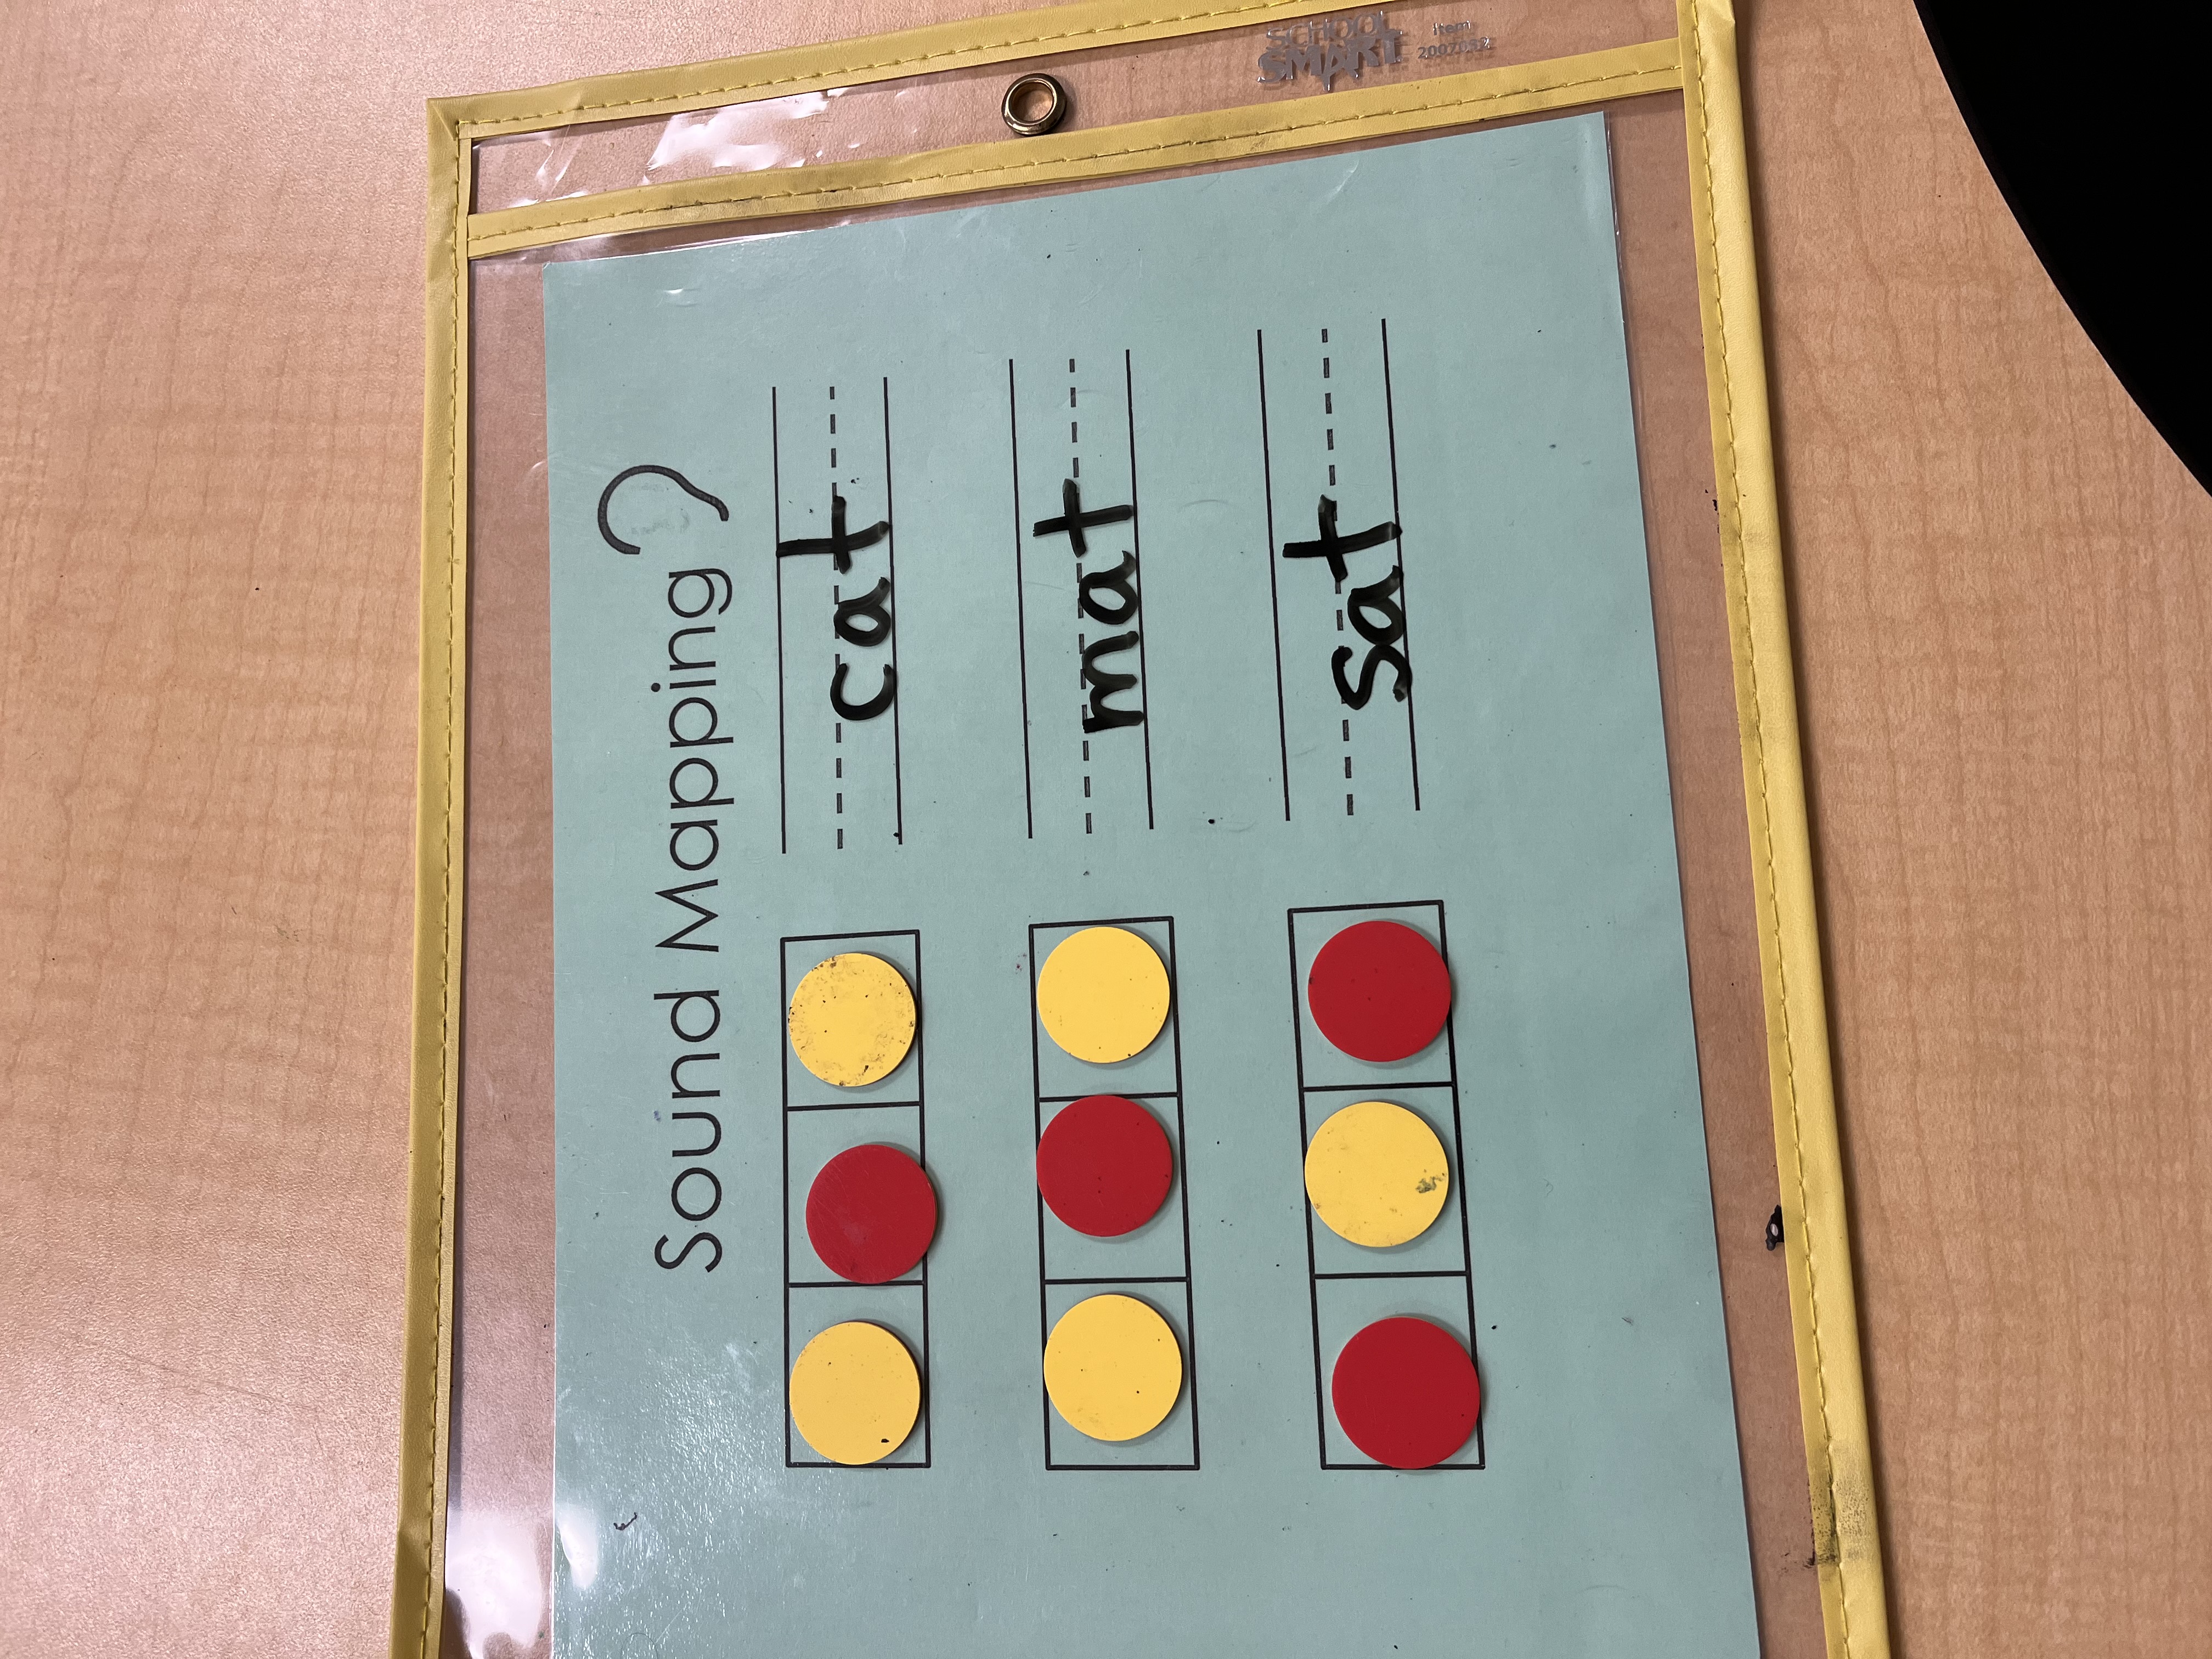
My low-middle group primarily focuses on sound mapping and sentence dictation. We use this template to practice making our CVC or CVCe words. We use red and yellow chips. The yellow chips are for the consonants and the red chips are for the vowels. I have a mat that has three boxes. I say a word and the students push the chips into the boxes. We sound out the word, and then spell it. Last, we write the word to the side with an expo. We do this with ALL of the short vowel word families.
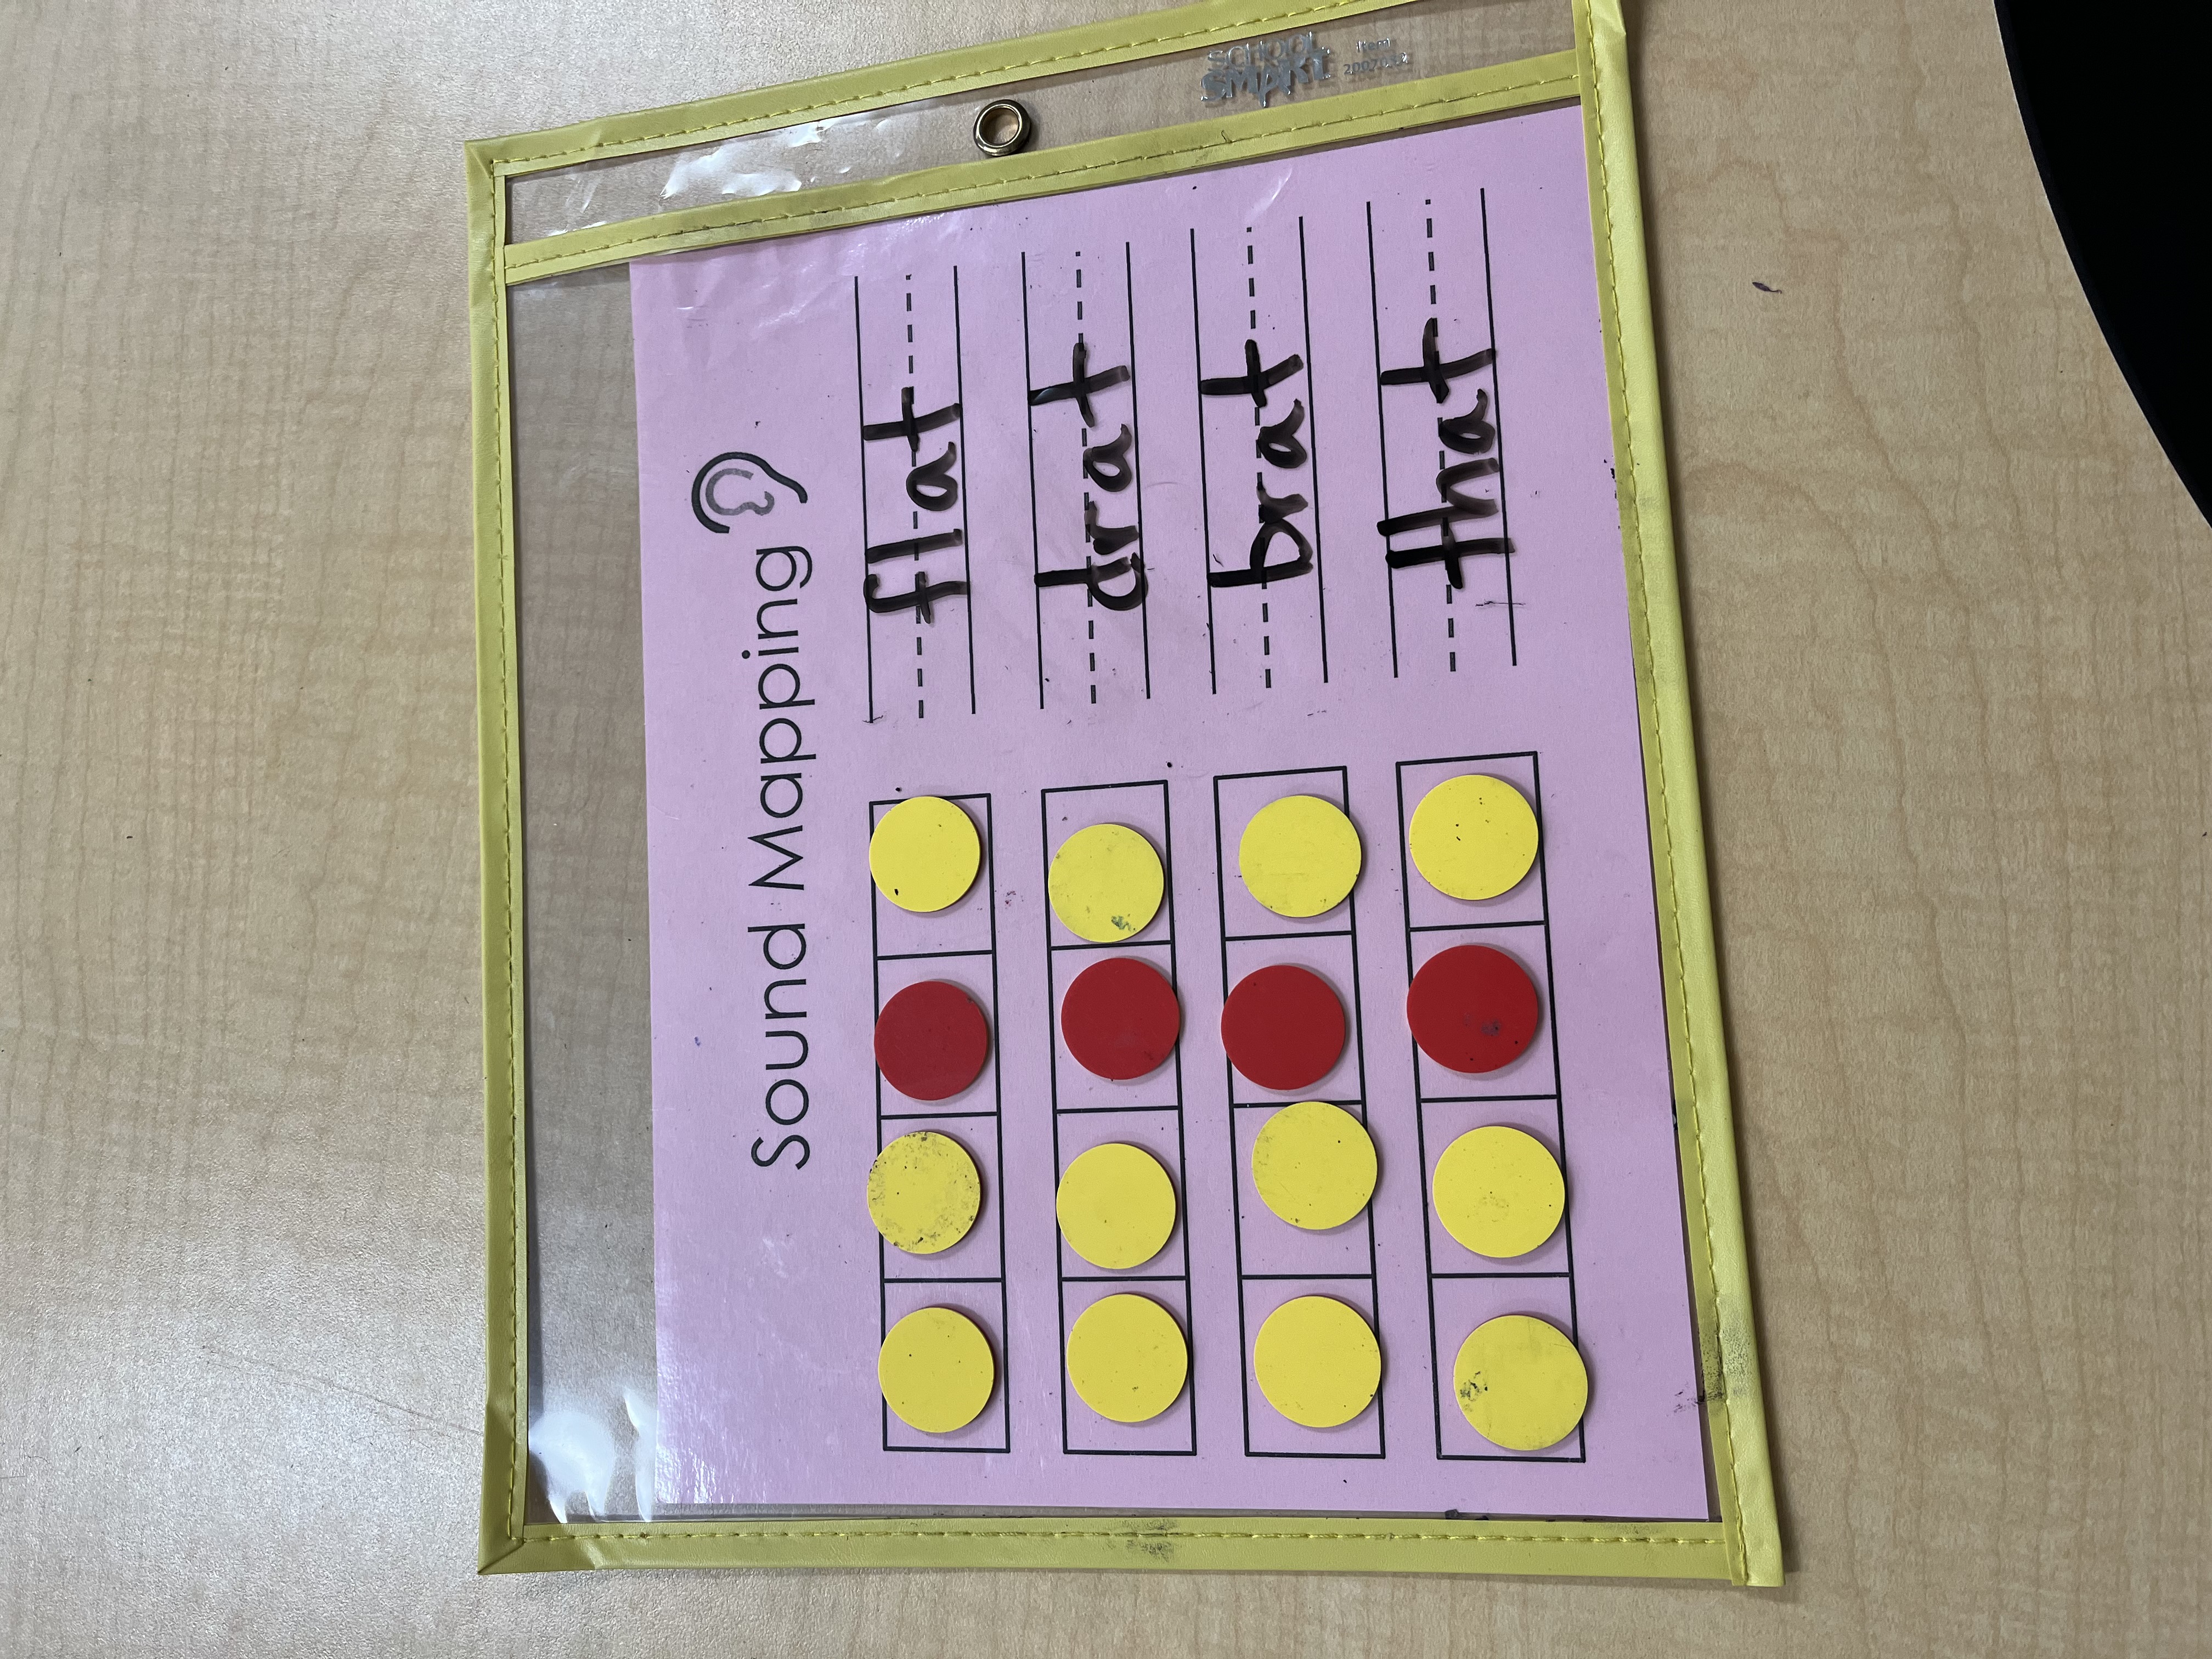
Another type of template that we use has 4 boxes. This is great for spelling CVC words with blends at the beginning, or CVCe words. Again, we use this mat with all of the short and long vowel word families.
If you’re interested in checking out my sound mapping resource, click here.
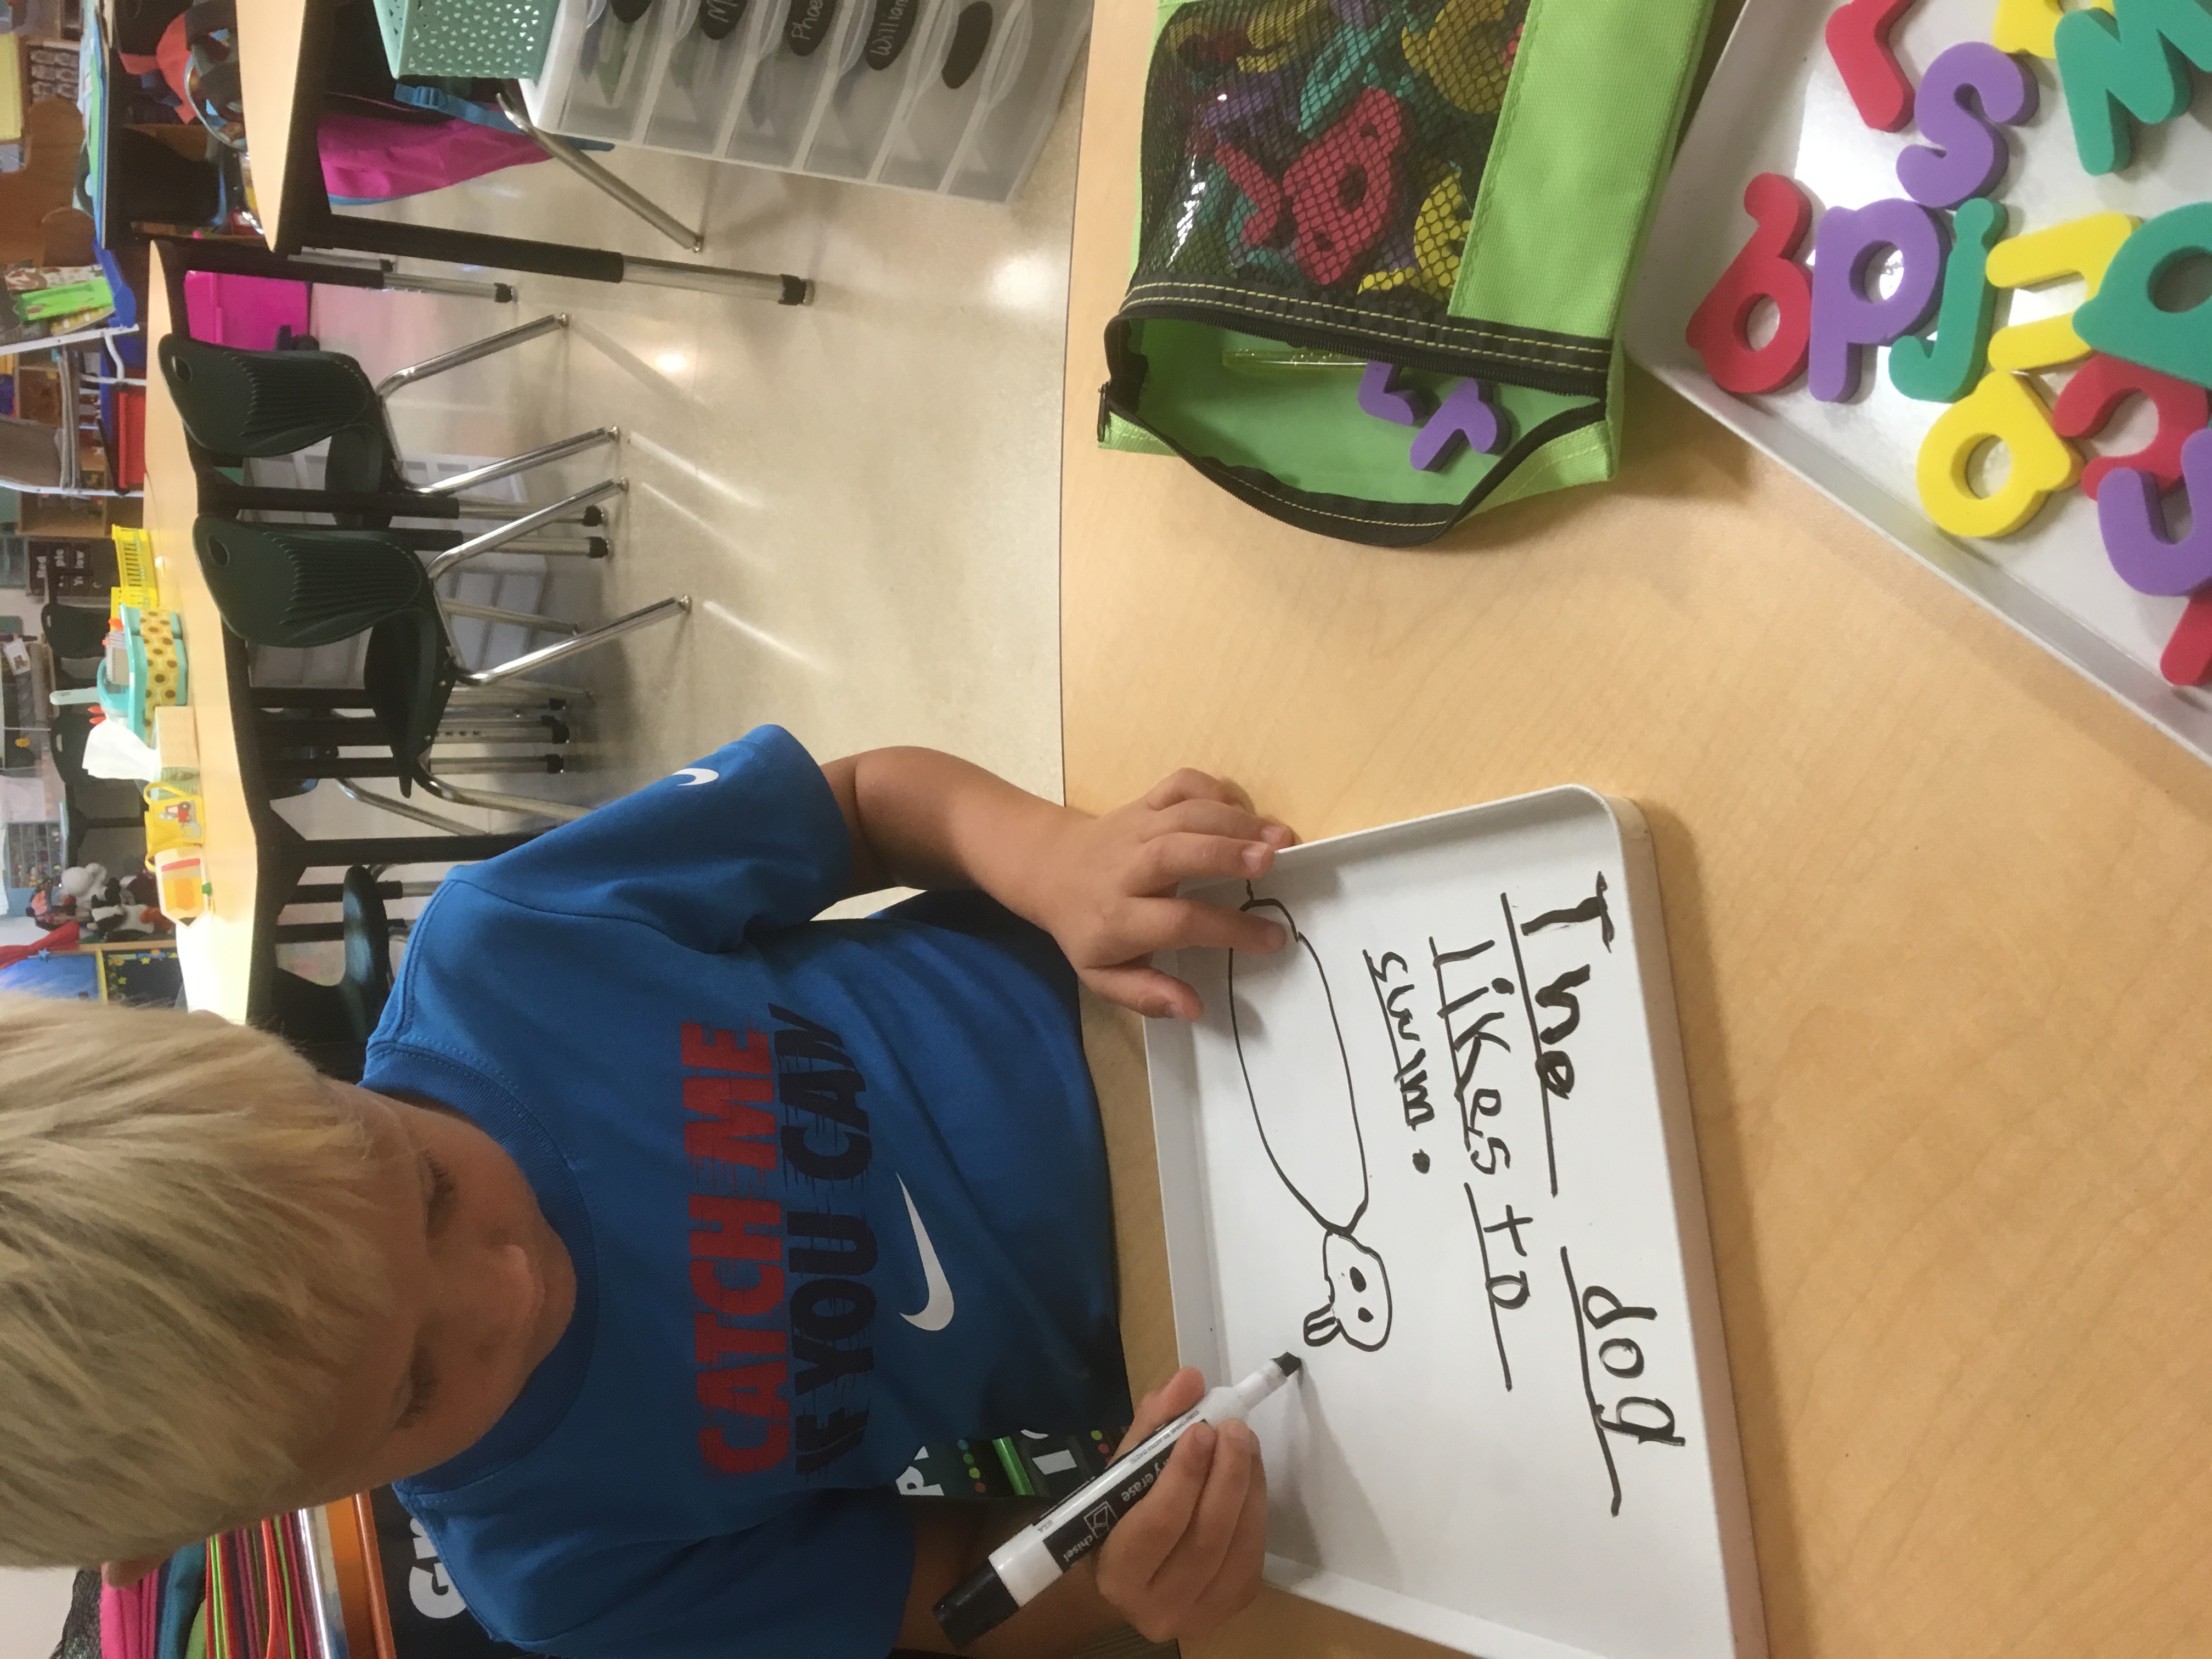
Last, we do some sentence dictation. Sentence dictation is where we work on writing complete sentences using capitals, periods, correct spelling, and finger spaces. We use our whiteboards and expo markers. For my low babies, I like using their whiteboards so they can easily erase and try again if they need to. That way they do not get as frustrated with having to erase multiple times.
I say the sentence, and the students repeat the sentence back to me. We count the words on our fingers. Then, we draw the lines on our whiteboard. I try to encourage the students to sound out their words as well as they can. We practice stretching the words out and tapping the sounds with our fingers. I also try and say a sentence that will help the students be successful with words they already know. After they write their sentence, they read it back to me and illustrate a picture at the bottom. We might do this one or two more times with different sentences.
3.) DECODABLE READING/SENTENCE DICTATION- MIDDLE GROUP
For my middle reading group, I love to use decodable readers. Decodable readers are short stories that have easily decodable words from word families. I always start with the word family, or short vowel that we are learning during our phonics block. We use the curriculum “95% Phonics”. Decodable readers set the students up for success because they are easily decodable hence the name “Decodable Readers”.
We do sound mapping first and I like to practice some words they will see in the story before reading it. Then, we do a picture walk of the story and talk about some new sight words they might see. We frame the words with our fingers and say them.

I also use decodable passages like these. I put them into a clear folder and the students write on them with EXPO markers.
If you’re interested in my decodable reading passages for short/long vowels, click here.
After we read the story, then we do some more sentence dictation. I may say a sentence from the story and we count the words, draw the lines on our whiteboard and write the sentence. This is just like my low-middle group. Again, they have to read the sentence back to me and illustrate a picture. With this group, I like for them to make up their own sentence and write it a second time. It empowers them to want to write because it’s their own sentence!
4.) READING FLUENCY-MIDDLE/HIGH GROUP
With this reading group, I use guided reading levels. I test my students each month to see what reading level they are on, and if they are an H or above, I start them with guided reading books. Here’s an example of my reading level data tracker. I just bubble in the new level each month to keep track of their progress. I also keep this tracker in my student data binder so my students can keep track of themselves. Students LOVE to see their progress from month to month! It encourages them to want to try harder and persevere!
This group uses the pacing of guided reading: preread old stories, intro to sight words, picture walk, read the new text, and then guided writing. Don’t forget to check out my YouTube channel to see me teaching a guided reading lesson on level G with my first graders. When we work on fluency, I tell my students to read their new book as many times as they can- and each time read it faster than the time before. We also work on sight word flashcards and read word lists.
Sometimes I even have my students make their own flashcards and take them home to practice. This really helps a lot! After reading the story, then we work on comprehension and guided writing. What’s guided writing you ask? I’ll tell you some more about those strategies in the next section.
5.) Reading Comprehension-MIDDLE/HIGH GROUP
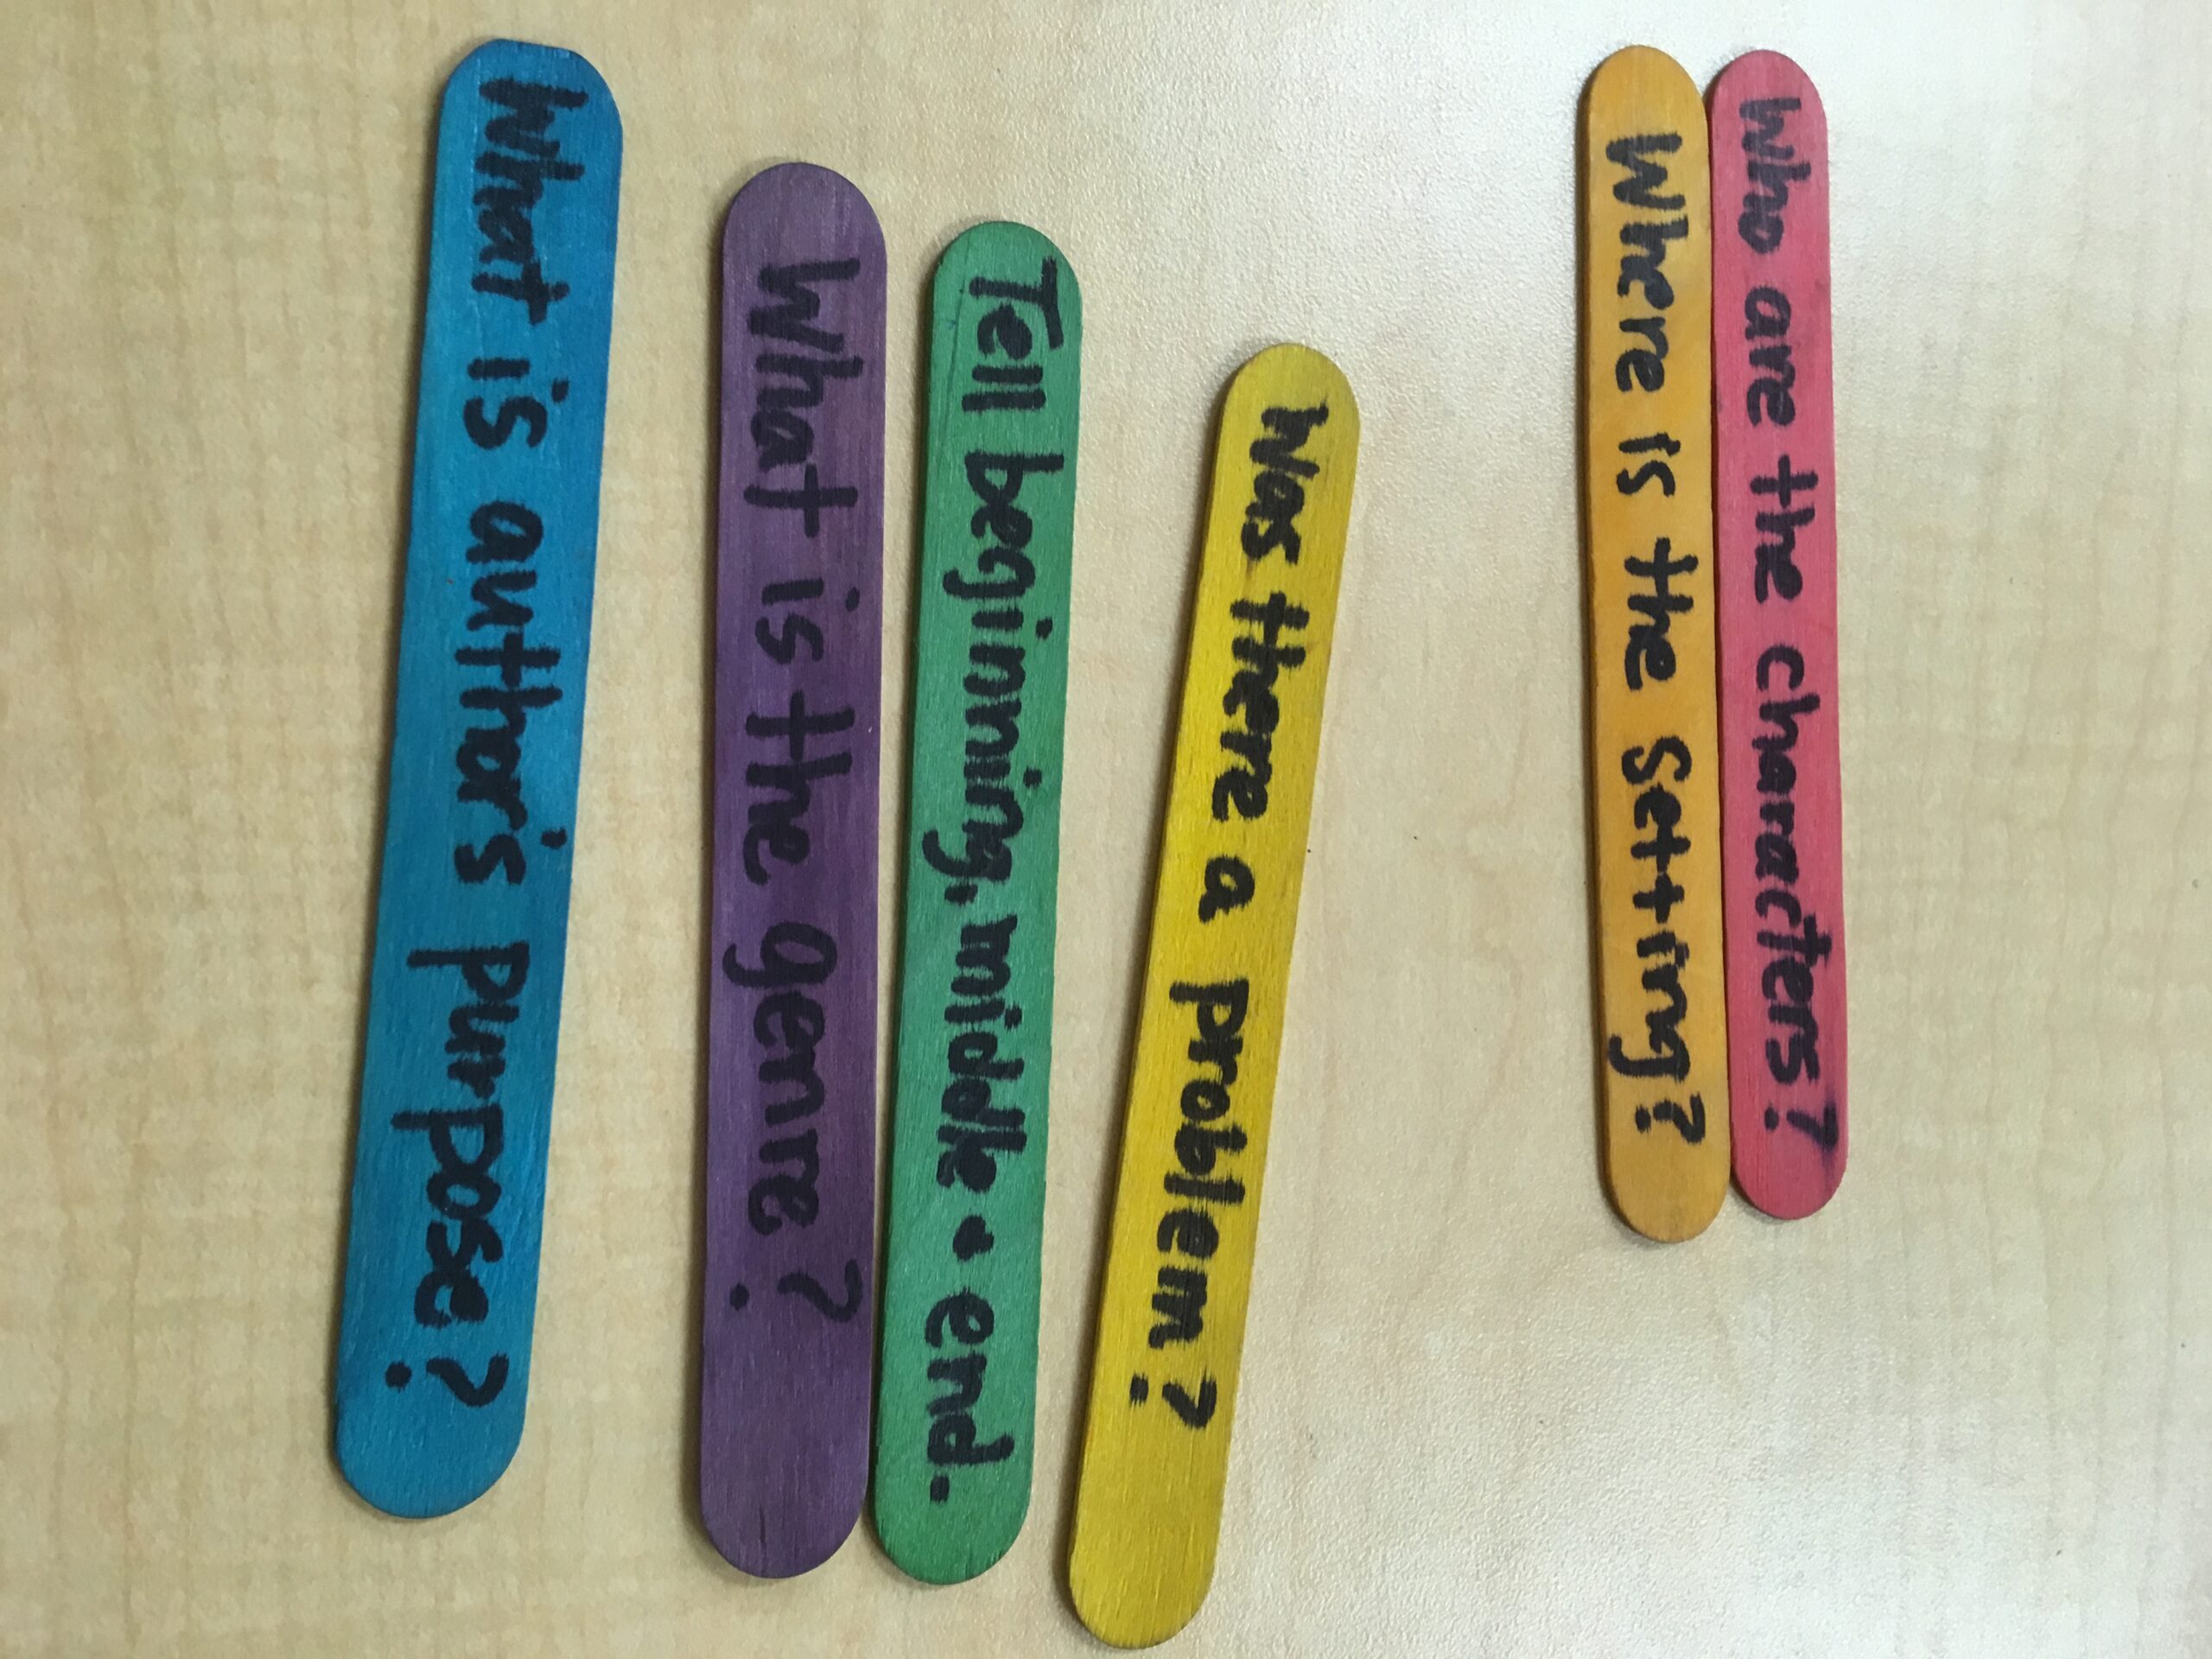
In my opinion, reading comprehension is extremely important for these high readers. They may have excellent fluency but have NO IDEA what they are reading. So, we practice predicting our text before reading, going over new sight words, reading new text, and then answering comprehension questions. I wrote some questions on some popsicle sticks and the students choose one different color each time to read. They cannot read the same question twice.
My popsicle sticks have questions like Who are the characters? What is the author’s purpose? Tell the beginning, middle, and end, What is the genre, Where was the setting, and Was there a problem? You could make up a lot of different questions depending on what your readers need. This is a quick and easy way to progress monitor their comprehension.
6.) GUIDED WRITING-ALL GROUPS
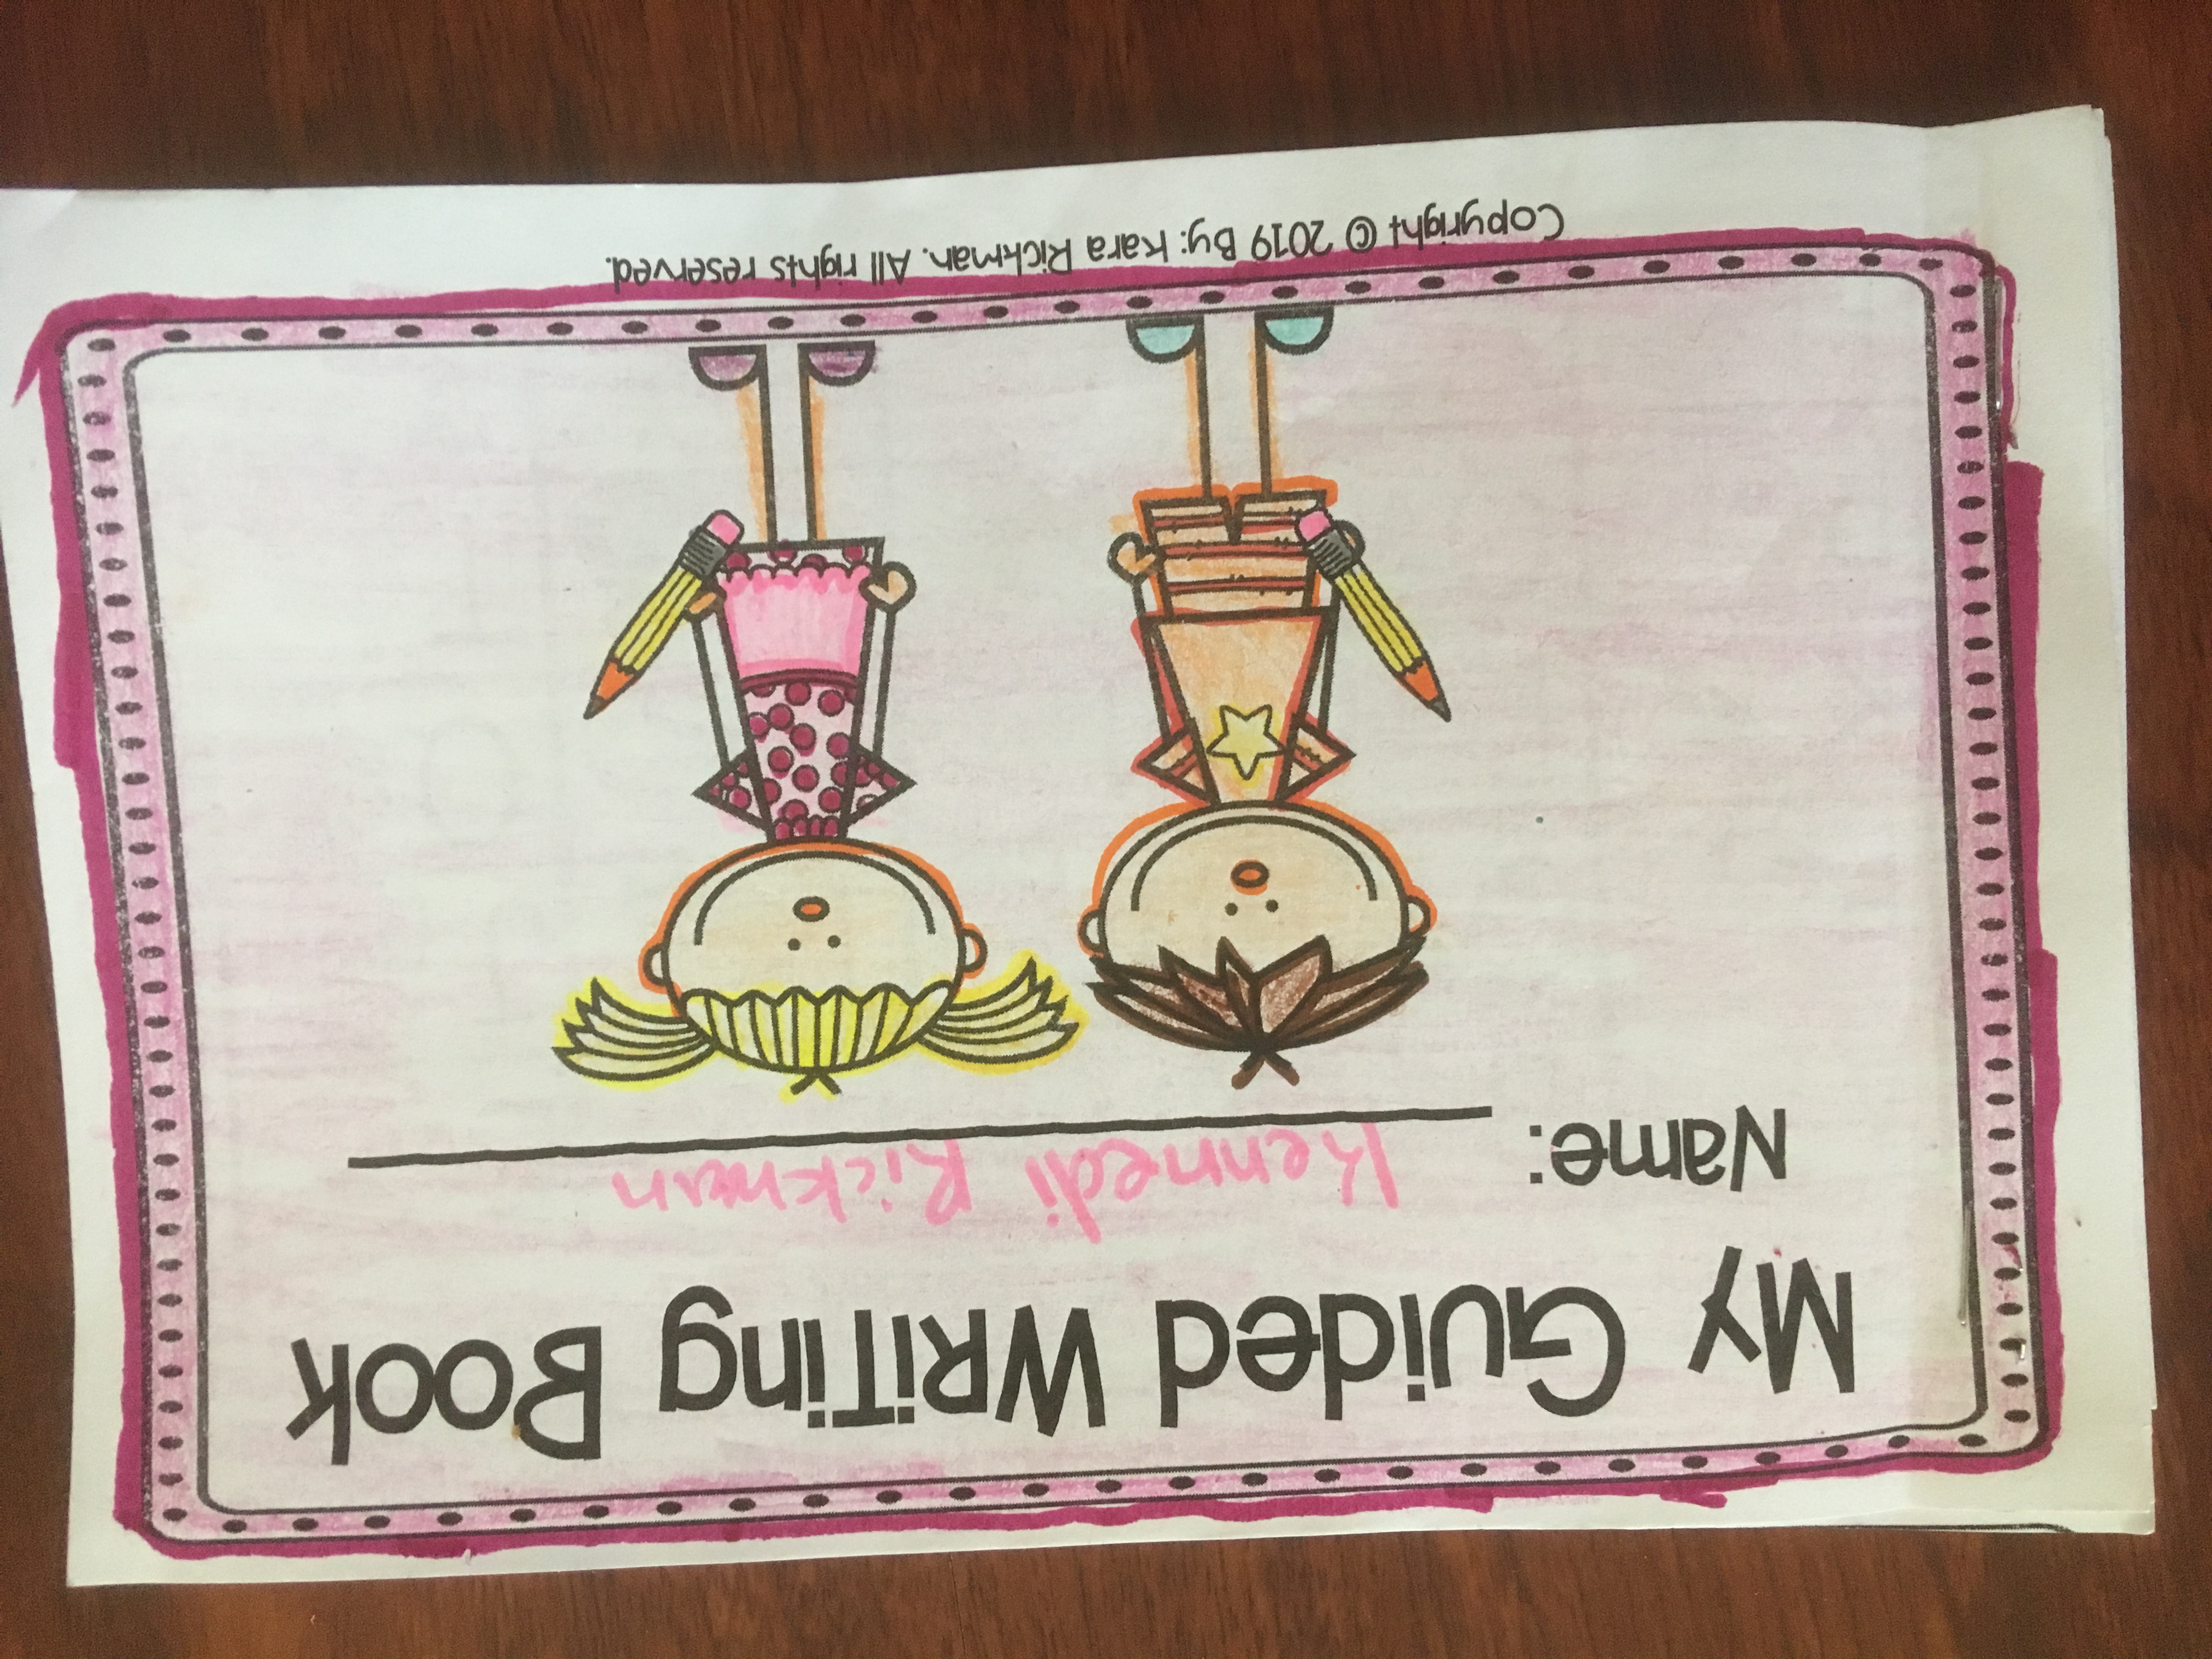
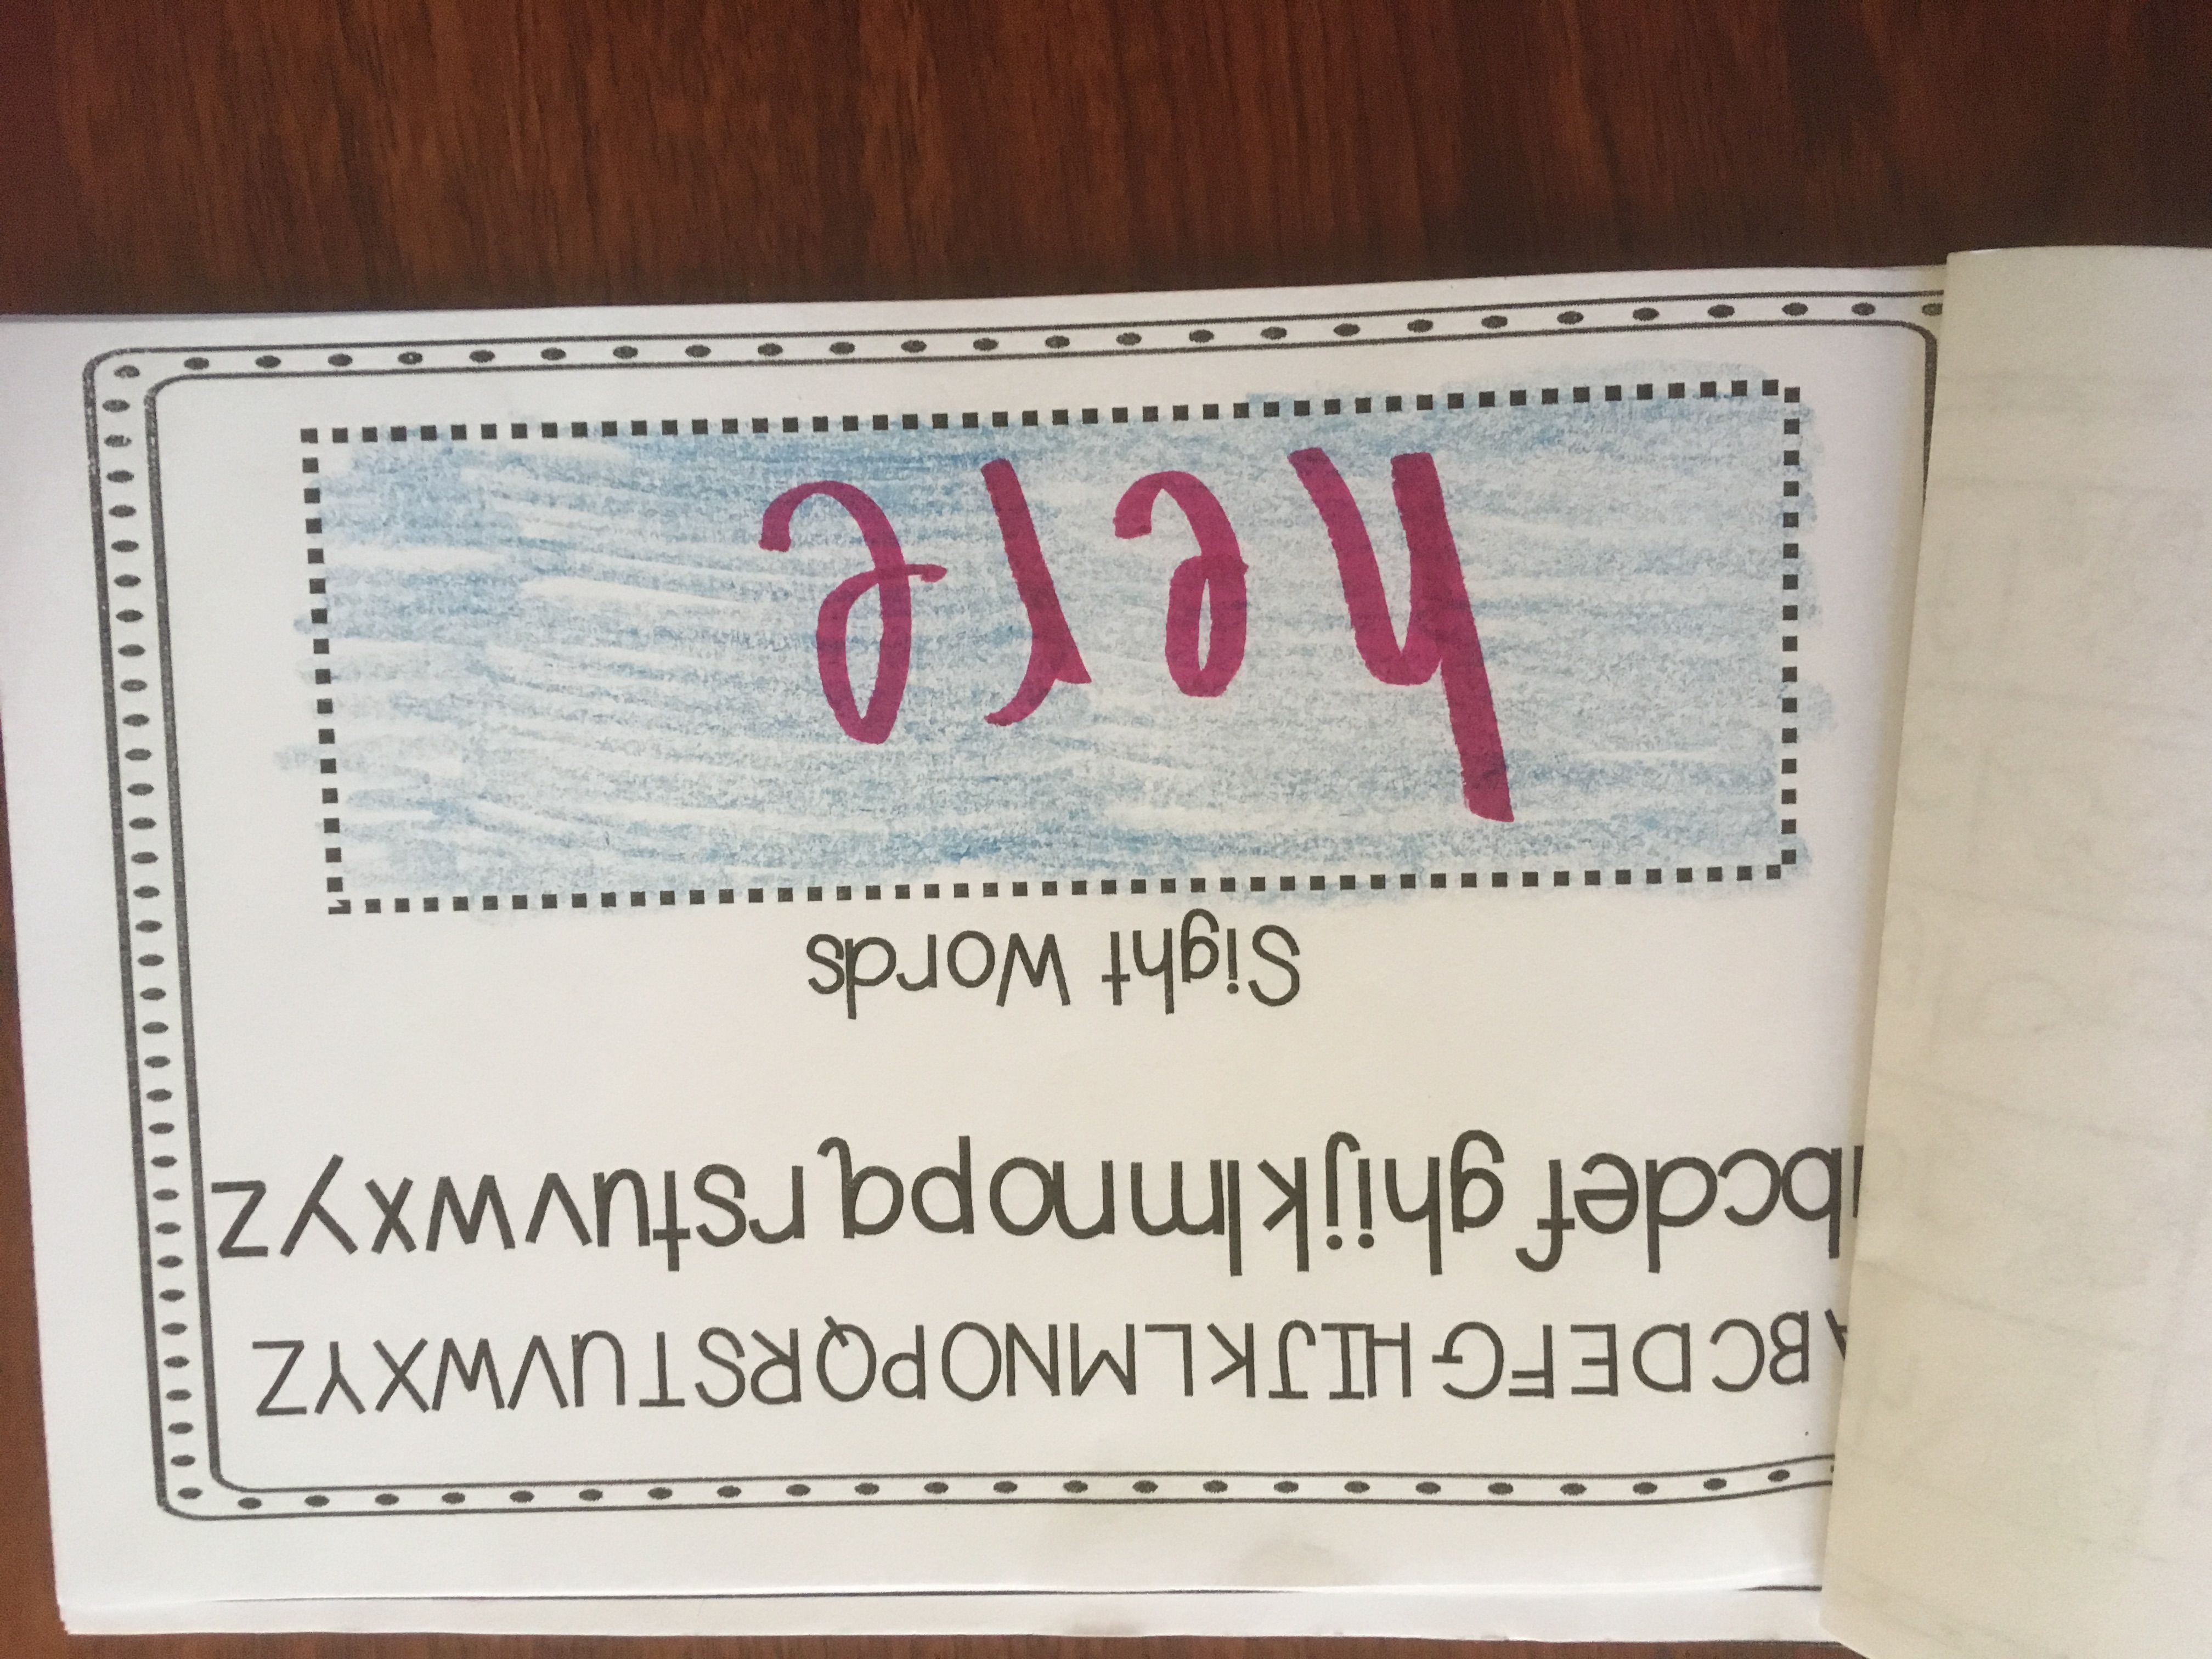
What is guided writing you ask? It’s a writing resource that I created that allows me to progress monitor my students when they are practicing their writing skills. This is a strategy that I can use for ALL of my reading groups, but differentiate it to meet their needs. If I have a student that needs to be tested for dyslexia or dysgraphia, then this is excellent data to keep. I have two ways that we practice: one way is on our whiteboards like I shared in the previous reading groups, and the other is in our Guided Writing Booklet.
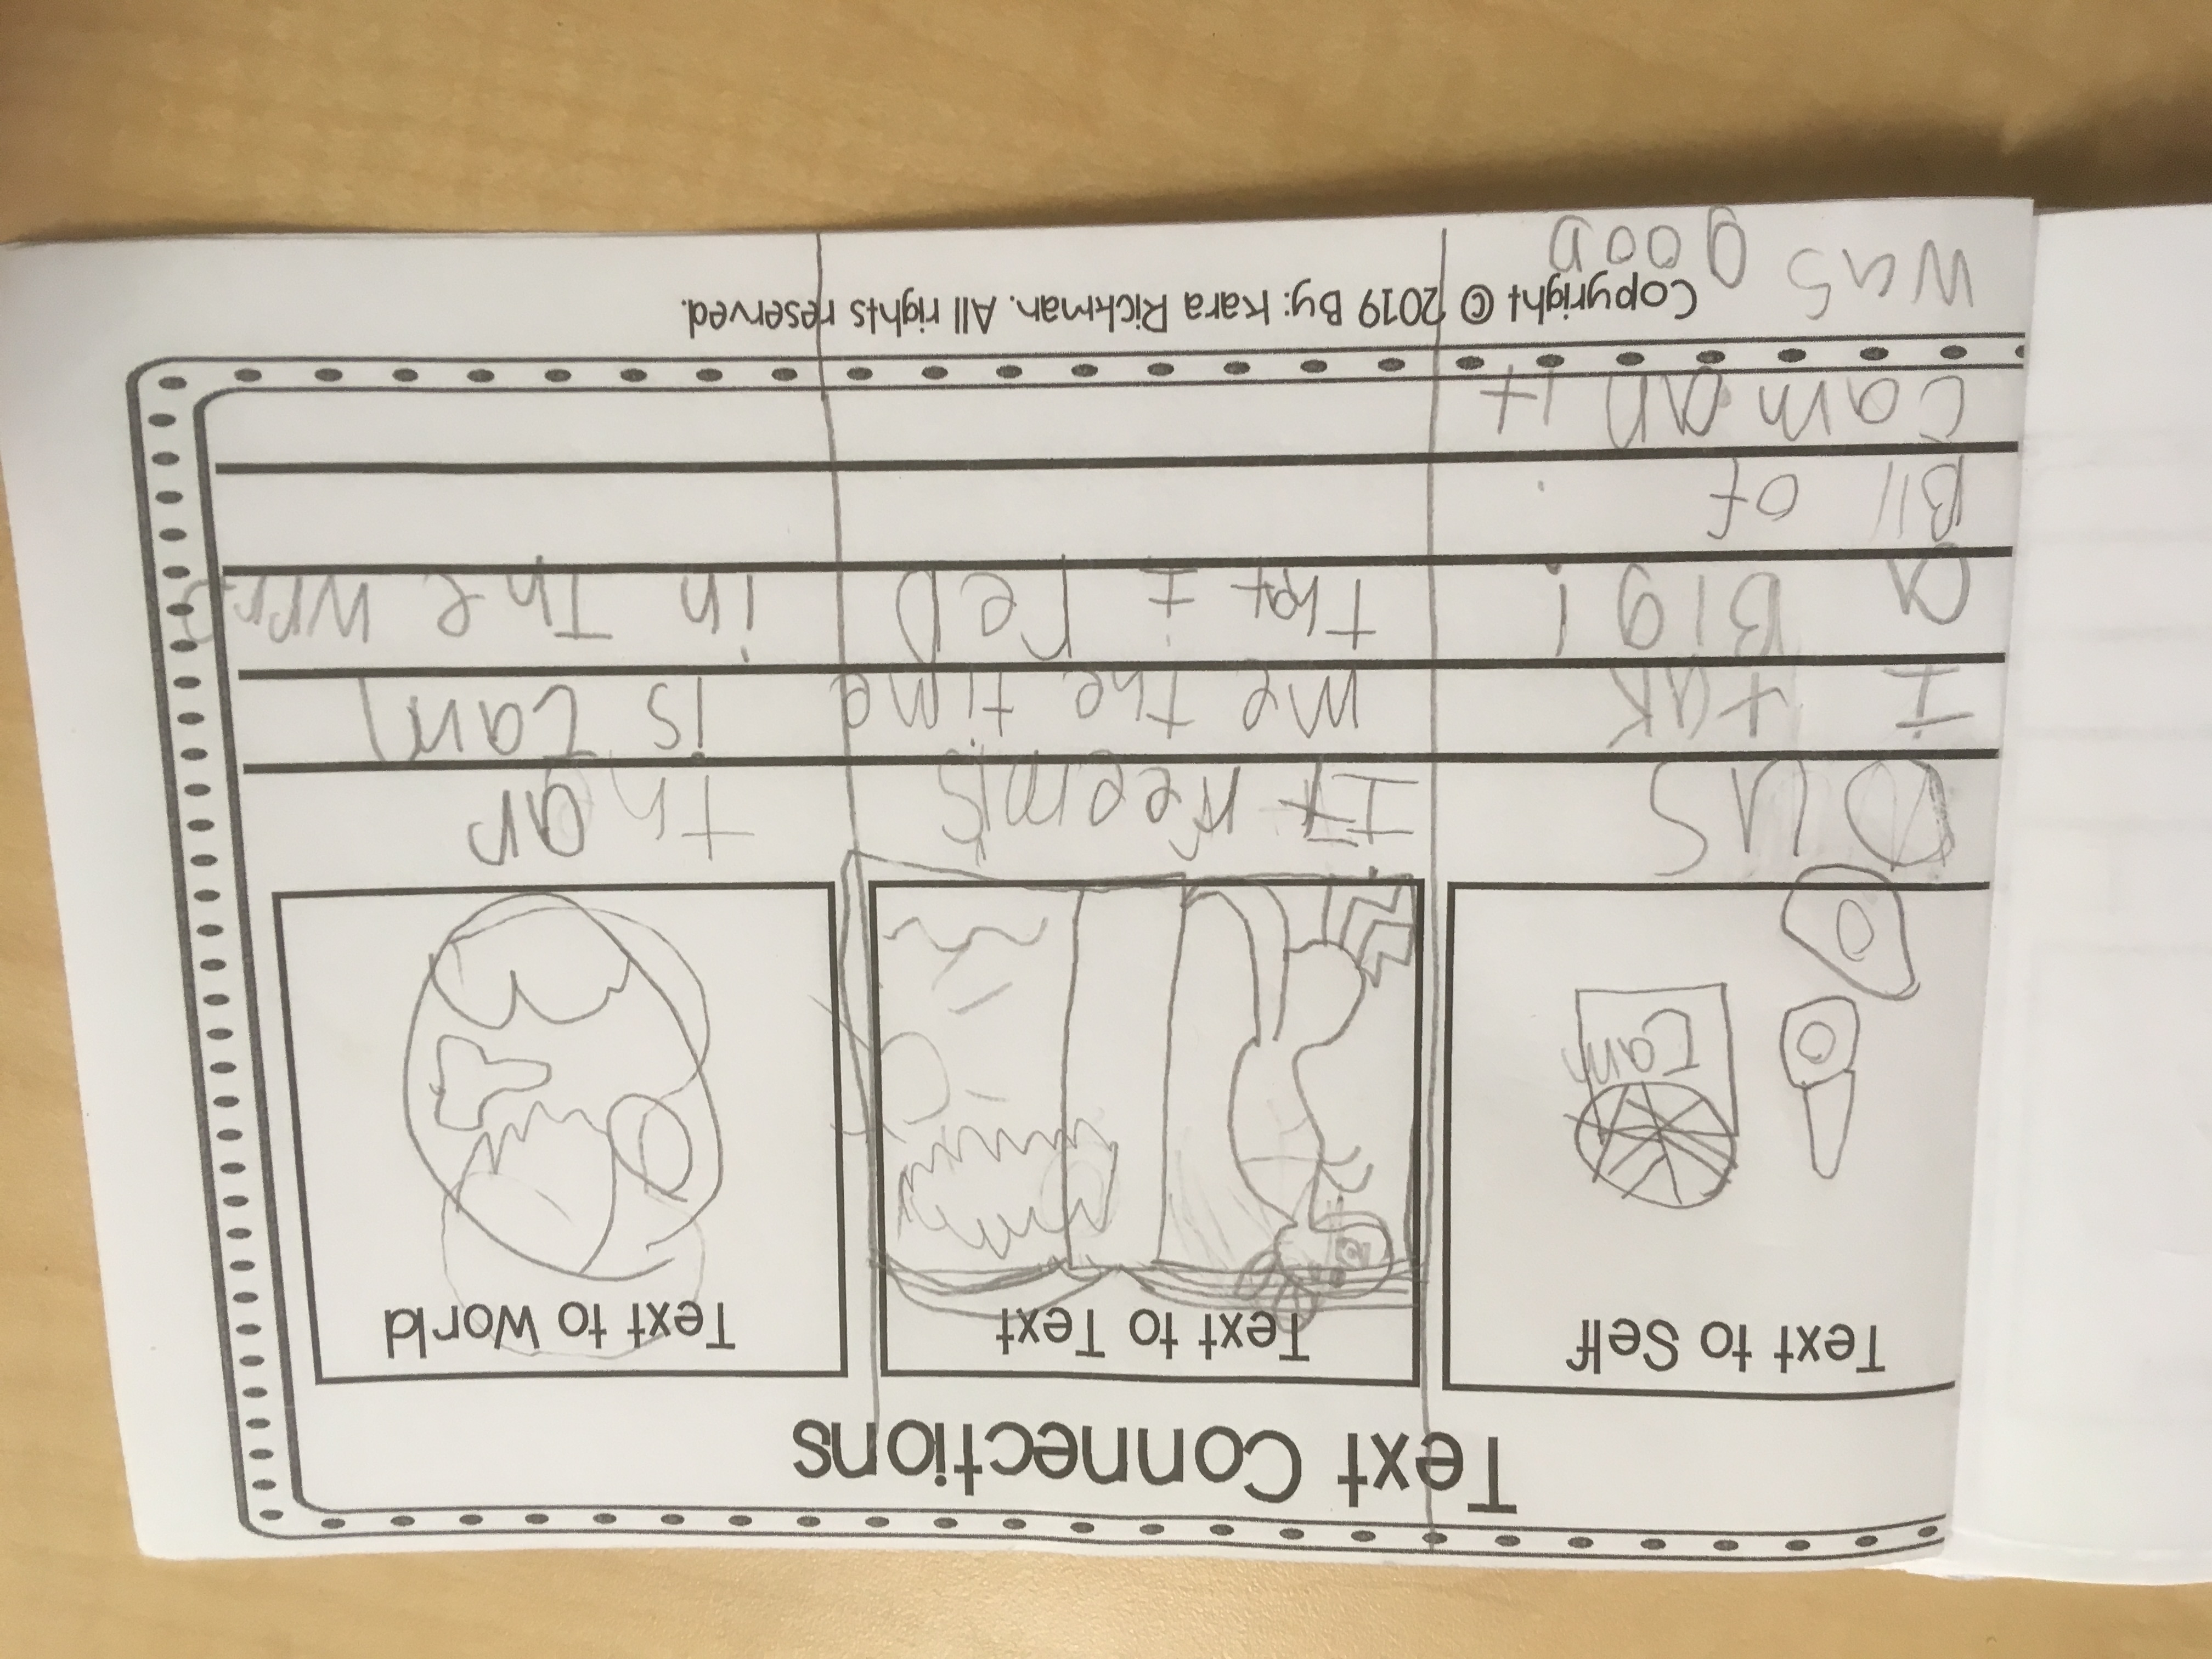
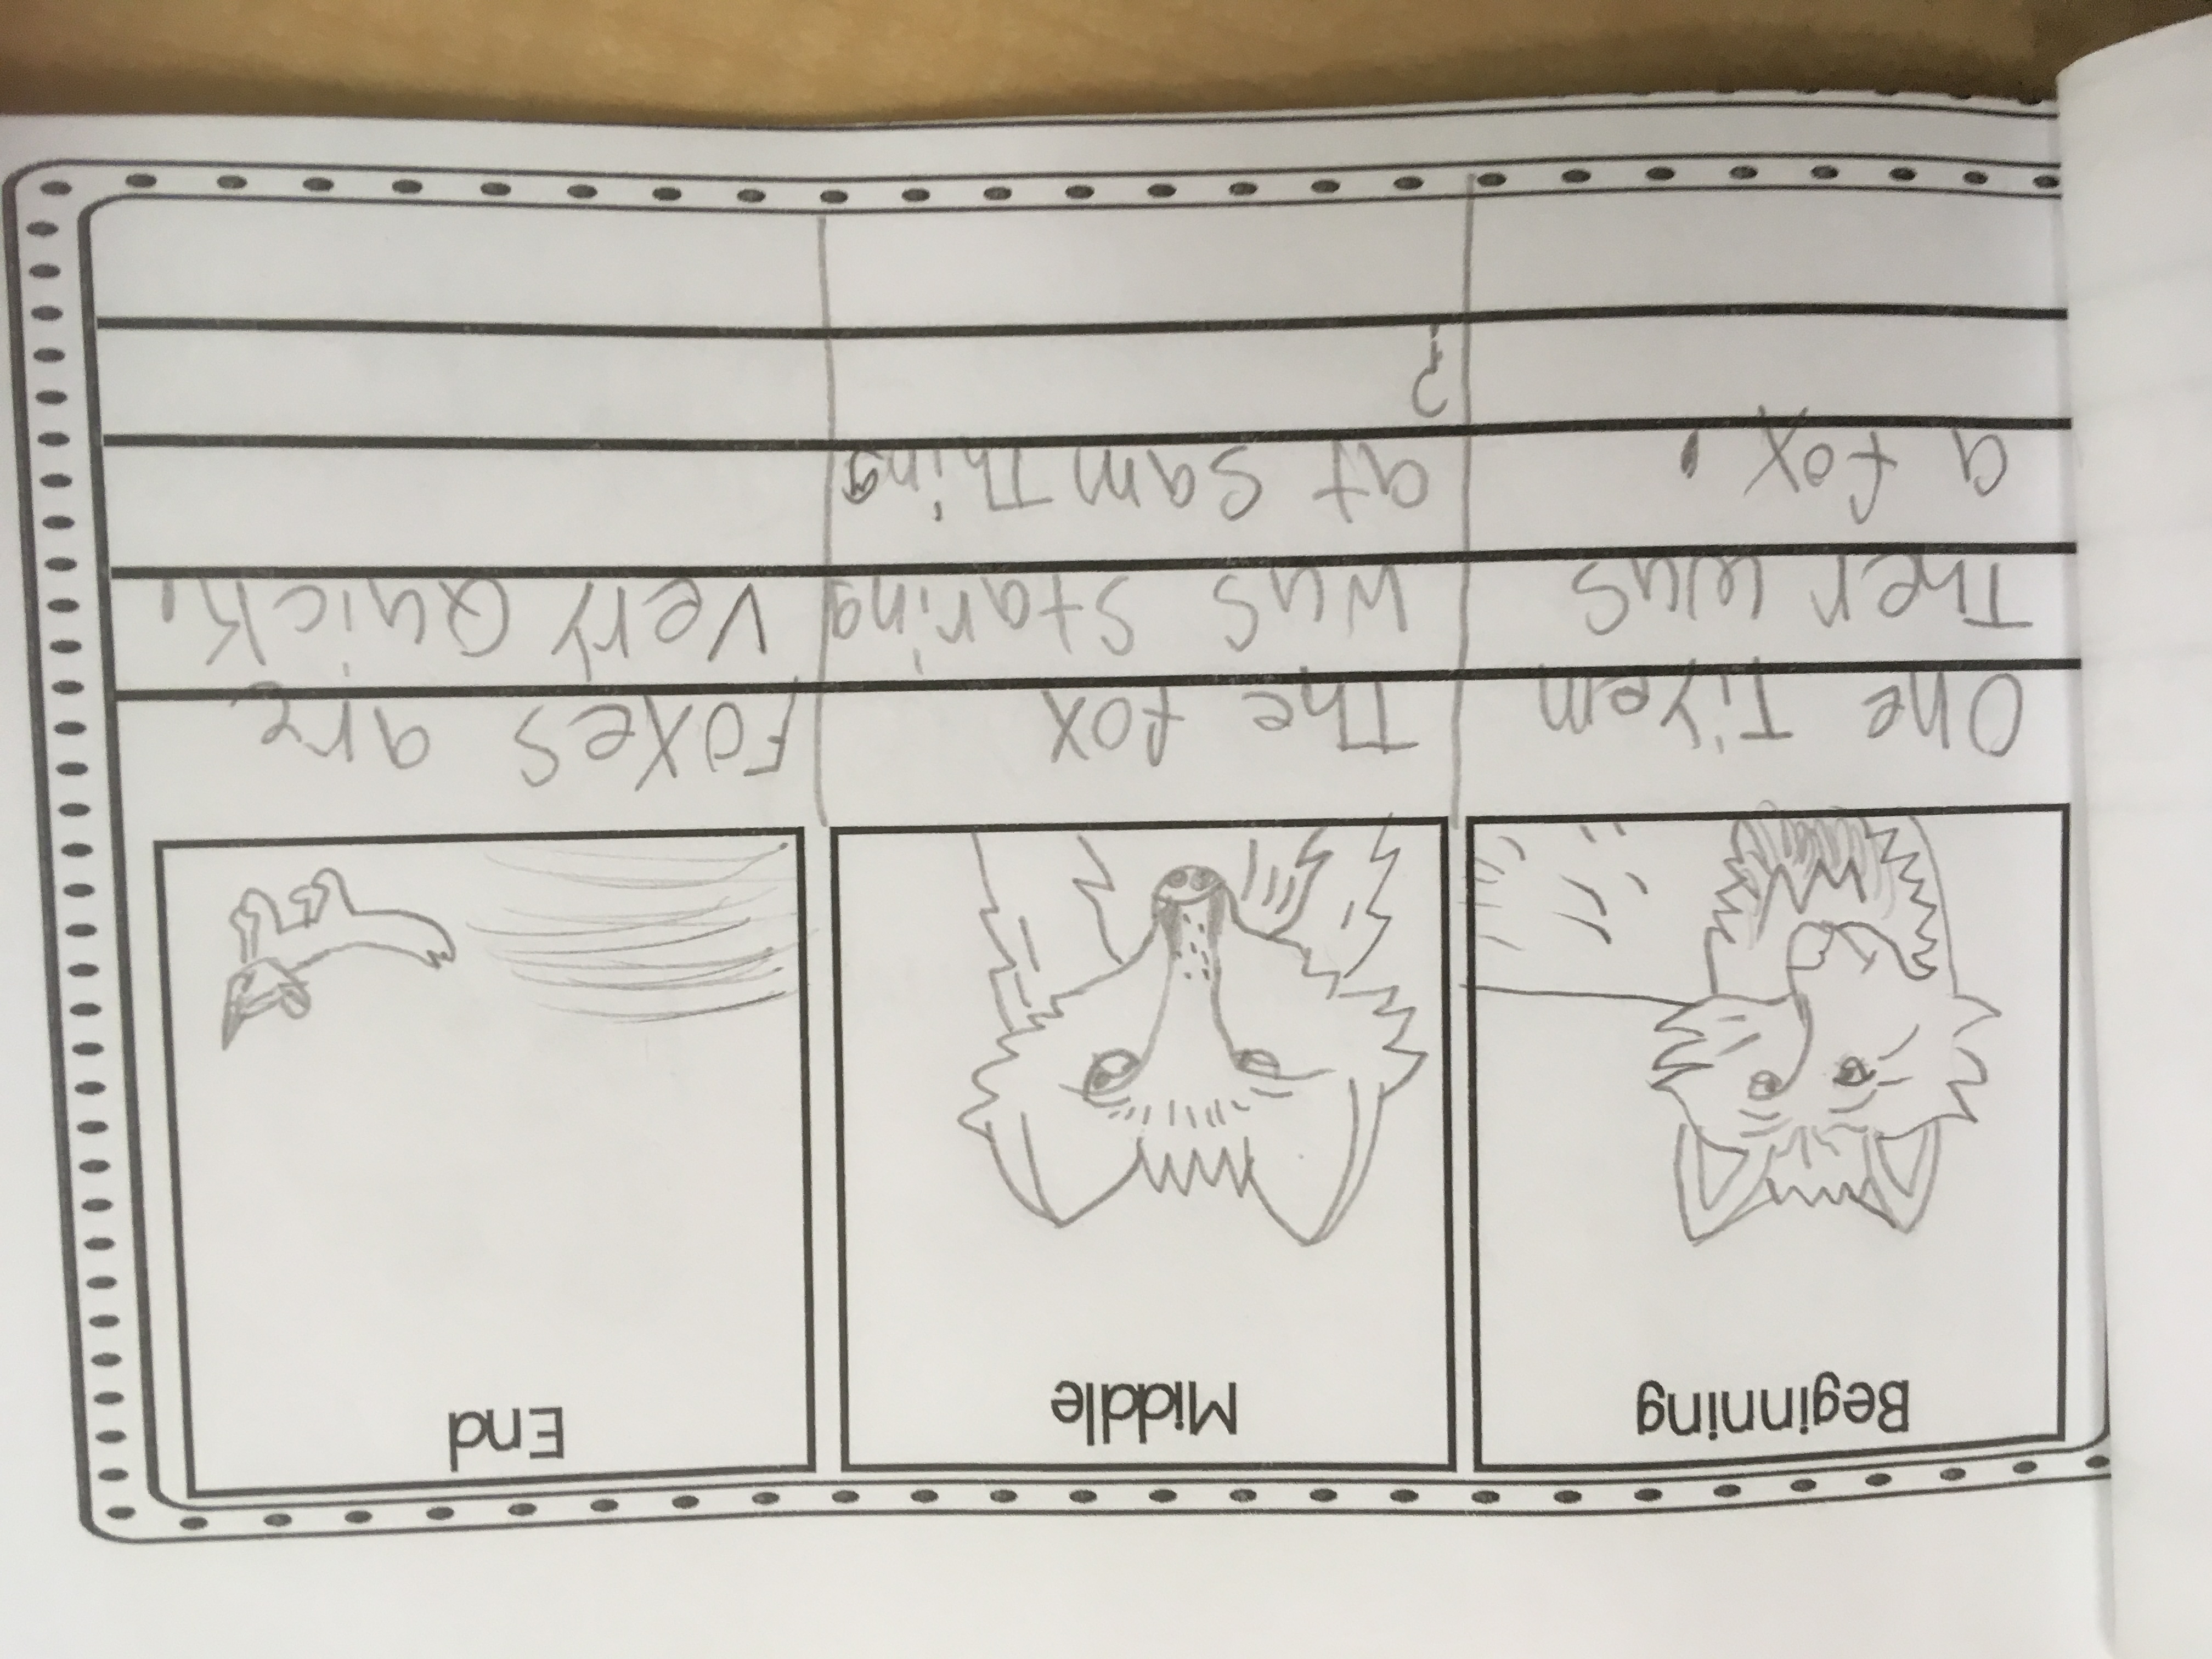
This booklet has pages with sound pictures, blank lines for sight word practice, and pages for retelling the beginning, middle, and end, author’s purpose, story elements, sequence of events, and text connections. When one booklet is full, the students can take them home, and I’ll make them a new one with different pages from the last book.
If you’re interested in looking at my Guided Writing Booklet, check out my TPT store here.
7.) LITERATURE CIRCLES-HIGH/GT GROUP
For my Literature Circles, I prefer the students to be at least a level J or higher so they have great fluency and comprehension. I like to have them read Magic Tree House books, but you can use anything that you think you’re students might be interested in as long as it’s not too hard or too complicated to comprehend. My students LOVE the Magic Tree House books because I read them all year long. So, when I tell my Literature Circle that they are now reading Magic Tree House books by themselves… they are super excited about reading! I just love that!
Each student has a job role description page and a calendar that they refer to so they know which job role they will be for the day. I have six different rotations of jobs: Discussion Director, Passage Picker, Summarizer, Artful Artist, Word Wizard, and Literature Connector.
This group meets twice a week on Tuesdays/Thursdays. I meet with them 6 times before they are meeting independently. This way I can go over all of the 6 jobs and they all do the same job at the same time to practice what it looks like and sounds like. First, they each read a new page out loud for the group, then they will complete their comprehension role by writing in their folder. I have journal templates at the back of their folder to write on. Last, they will share what they wrote to each other. This group takes A LOT of time and practice at first, but once they understand what the jobs are, they are good to go!
And, there you have it! All of the 7 strategies you could use to teach your Reading/Phonics Groups at your teacher table! A word of caution… I wouldn’t start these groups right away though. I would wait for 4-6 weeks or so because you want to spend TONS of time teaching your rules and procedures to your class because the last thing you want to have happen is to have your students come up and interrupt you while you’re teaching at your table! If you would like a FREE list of my Reading Group activities, click HERE.
Take your time at the beginning of the year to really MODEL your expectations so your reading groups will be off to a great start when it’s time! You want your class to be working independently and they need to know how to problem without you! I use a peer facilitator that walks around and answers questions for me, but that’s a whole other blog post! LOL If you’re interested in checking out my blog post about my Behavior Management tips and tricks, click here.
Until next time…let’s take your classroom to the next level!
Happy Teaching!