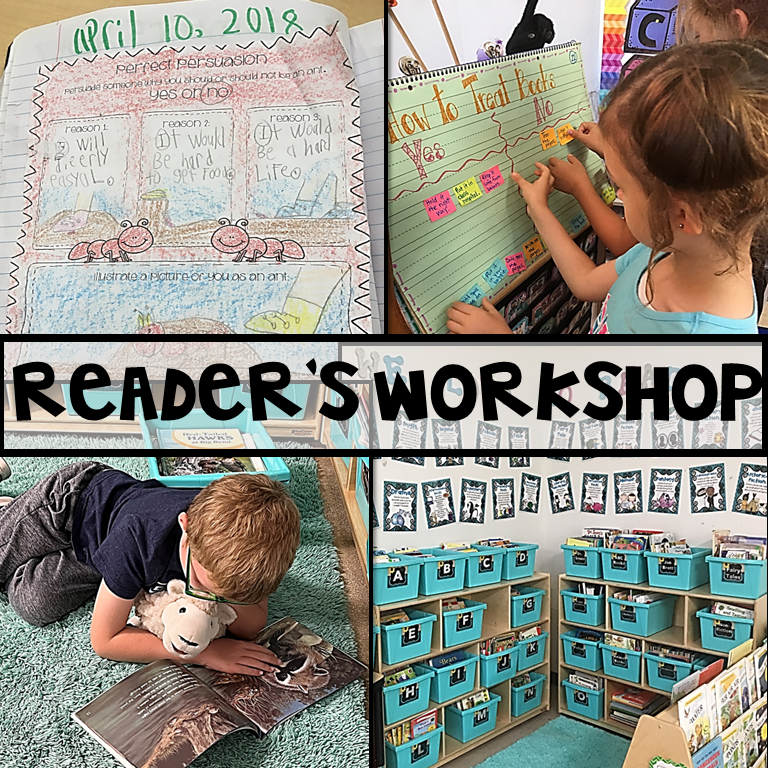
You may be wondering, how to teach reading comprehension to your first graders. You’re in luck because this is one of my favorite things to teach! I teach with a framework of the “I DO, WE DO and YOU DO” also known as “The Gradual Release of Responsibility” using Reader’s Workshop. This is the block of time where I can teach my first graders strategies to become fluent readers and deep thinkers.
They are applying the skills that I taught them during my mini-lesson for their comprehension. First, I gain their confidence by reading a mentor text and my students respond to that text. Then, I have them read their own story that is on their level to apply the skills that I’ve taught. I cannot wait to share with you my secret strategies to teach reading comprehension!
What Is the “I DO, WE DO, and YOU DO”?
I Do, We Do, You Do” is a teaching strategy commonly used in education, particularly in the context of modeling and guided practice. It’s an instructional framework designed to gradually release responsibility from the teacher to the student, promoting independence and mastery of skills. Here’s an overview of each phase:
- I Do: In this phase, the teacher takes the lead by demonstrating the skill or concept. This could involve explicit instruction, modeling, or providing examples. The emphasis is on the teacher showing students how to perform the task correctly and effectively. During this phase, students are primarily observers, absorbing information and observing the teacher’s approach.
- We Do: In the “We Do” phase, the teacher and students work together collaboratively. This phase involves guided practice, where the teacher leads the class in completing tasks or exercises while providing support and feedback. Students have the opportunity to participate actively, ask questions, and clarify their understanding as they work alongside the teacher. The goal is to gradually transition students from passive observers to active participants in the learning process.
- You Do: The “You Do” phase involves independent practice by the students. In this phase, students are expected to apply the skills or concepts they’ve learned on their own. The teacher may assign tasks, exercises, or projects for students to complete independently, allowing them to demonstrate their understanding and proficiency. The teacher still plays a supportive role by providing feedback, monitoring progress, and offering assistance as needed, but the primary focus is on student autonomy and self-directed learning.
Research on the effectiveness of the “I Do, We Do, You Do” model suggests that it can be an impactful approach for promoting student learning and skill development across various subjects and grade levels.
By providing a structured framework that gradually releases responsibility to students, this approach helps build confidence, fosters independence, and supports deeper understanding and retention of content. Additionally, the collaborative nature of the “We Do” phase encourages peer interaction and peer learning, further enhancing the overall learning experience.
My reading block is about 60 minutes long and here is my schedule that I typically do on a normal day:
Mini-Lesson- 10-15 min.
Anchor Chart- 5 min.
Independent Reading/Schema Notebook- 30 min.
Reading Groups/Literacy Centers- 30 min.
8 Materials That I Use For My Reading Block:
1.) Mentor Text- which goes along with the skill I am teaching.
2.) Schema Notebook- which is my reader’s response notebook.
3.) Anchor Charts- which I premake with the borders, pictures, and titles.
4.) Interactive Notebook Templates- the graphic organizers for each skill.
5.) Literacy Centers- a rotation board with 20 centers.
6.) Reading Groups- guided reading and science of reading.
7.) Classroom Library- with leveled tubs and genres
8.) Peer Facilitator- my star student who answers questions for me.
I’ll go through each of these 8 steps in detail and show you pictures of my students interacting with them.
1.) Mentor Texts:
Reading mentor texts to your students daily will improve their Language and Cognitive Development, Literacy Skills, Imagination and Creativity, Social/Emotional Development, Love For Reading, Cultural Awareness, and Preparation for Academic Success. I read a new mentor text each day for my mini-lesson but focus on the same skill all week long.
This way, my students can experience the same skill with a different genre with a different perspective! If you’re interested in my Mentor Text Collection for Reading, Writing, Math, Science and Social Studies, click here.

This is how I organize my Mentor Texts for Reader’s Workshop. I use clear plastic tubs with hanging dividers inside sorted by skill. Some of the skills I have sorted by are Text to Self Connection, Story Elements, Sequencing, Cause and Effect, and Author’s Purpose, just to name a few. It’s so easy to just pull out the tub and find my books fast if I’m in a time crunch. I have tubs for Writer’s Workshop and Math Workshop as well.

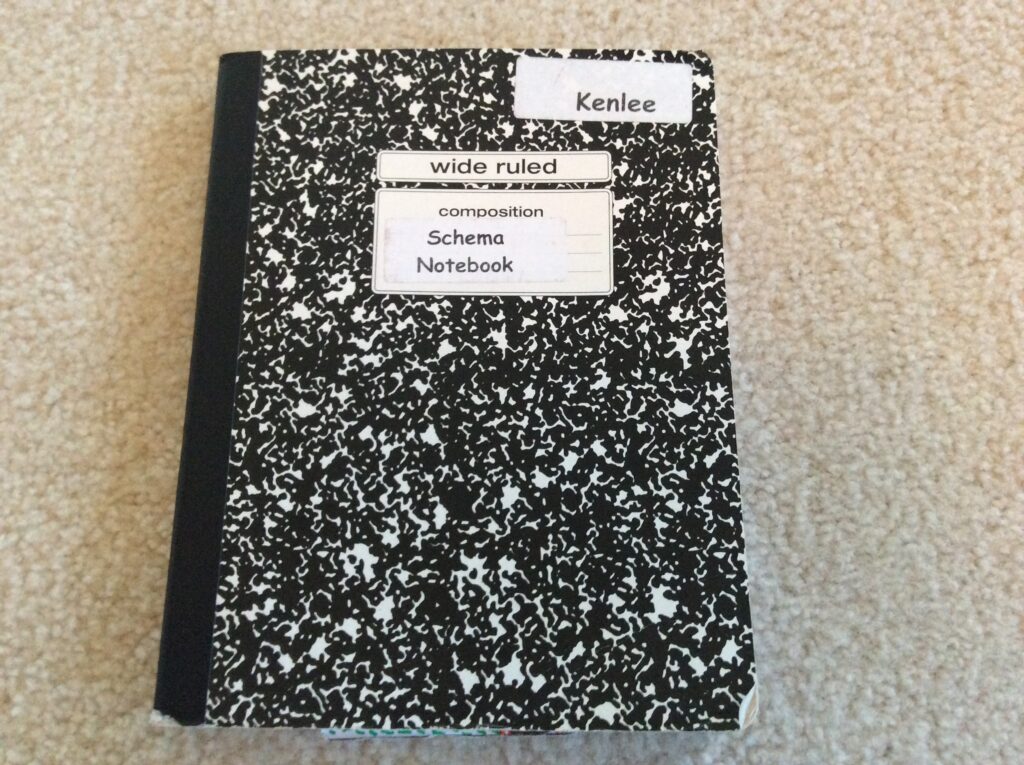
2.) Schema Notebook:
My favorite part about how to teach comprehension to my students is using my Schema Notebook. This is the reader’s notebook that I use for all of the graphic organizers. I teach my first graders what their schema is at the very beginning of the year. I tell them that their schema grows each time they read a new story. Everyone’s schema is different because we’ve all read different books and have had different experiences.
All the prior knowledge that you have belongs to your schema- hence the name “Schema Notebook”. I use composition books so they don’t fall apart because we use them every single day of the year. I need them to last! I use white envelope labels for the titles and names.
3.) Anchor Charts:
I use those colored chart paper tablets to keep my anchor charts in and I have a table of contents in the front so I can refer to the anchor chart lickety-split. I premake them with the borders, titles, and pictures. But, the meat of the lesson is done with post-it notes with my students. They draw pictures, write words or sentences on the Post-it notes, and stick them on the anchor chart to respond.
Here are some of my favorite anchor charts that I’ve made. If you’re interested in checking out my resource about my Reader’s Workshop anchor charts that are already made for you, click here.


4.) Interactive Notebooks:
Whatever skill that I’m teaching, I always create a graphic organizer to go with it. I shrink it down to about 85% so it will fit inside the schema notebook. At the beginning of the week, we do the template together, but at the end of the week, most of my first graders can complete it by themselves. Here are some examples:
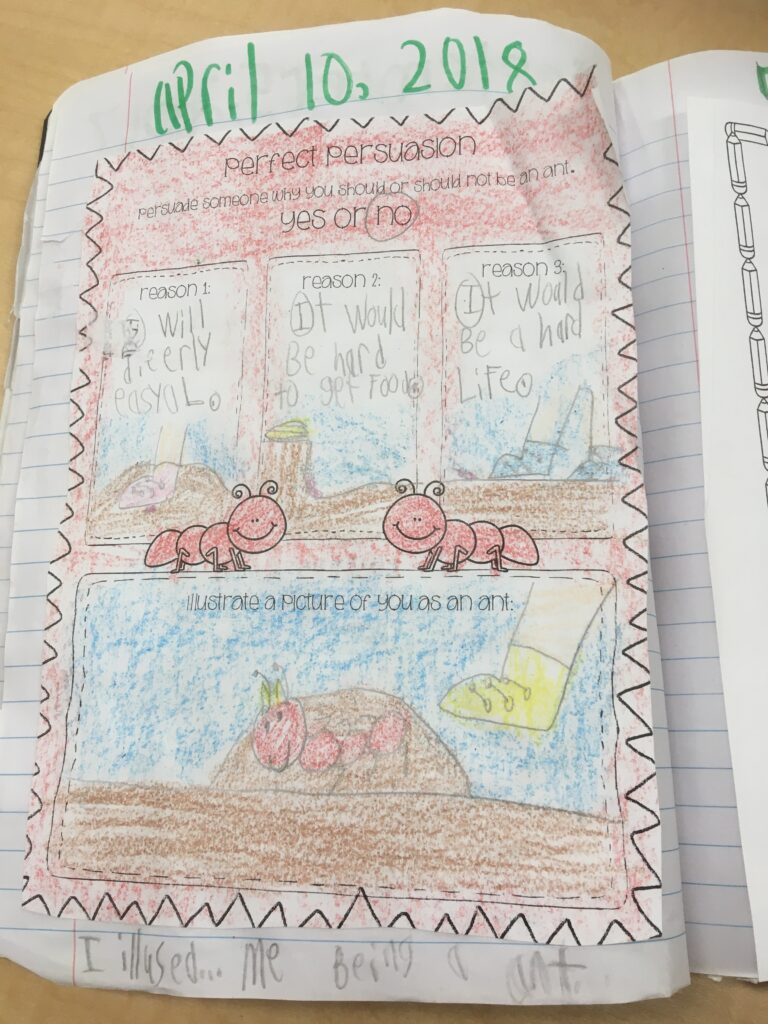
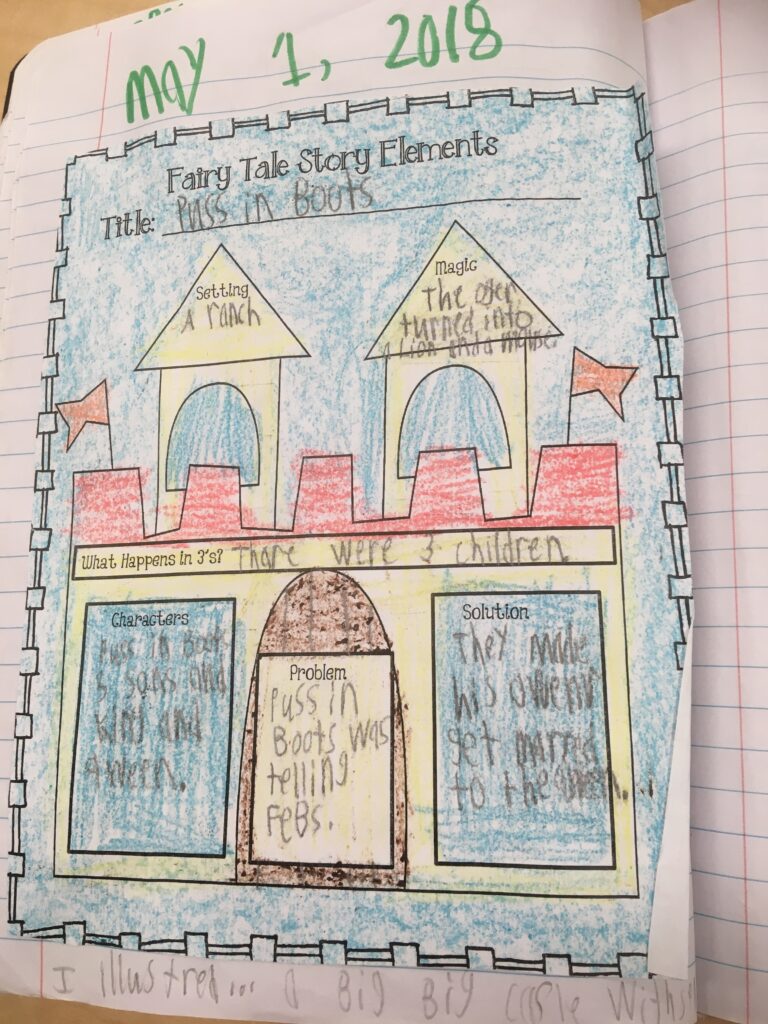
I’m also really picky with their illustrations and handwriting. I want them to write with a pencil first, and then outline with marker. For their picture, they have to outline with marker and color with crayons. I also want them to shade the background. At the beginning of the year, I do a whole mini-lesson on how to color, use borders, shade, and outline.
At the end of my reading block, I walk around and look at all of their schema notebooks and I pick the best one to show the class for some bonus bucks. This motivates them to take their time and do a great job!
5.) Literacy Centers:
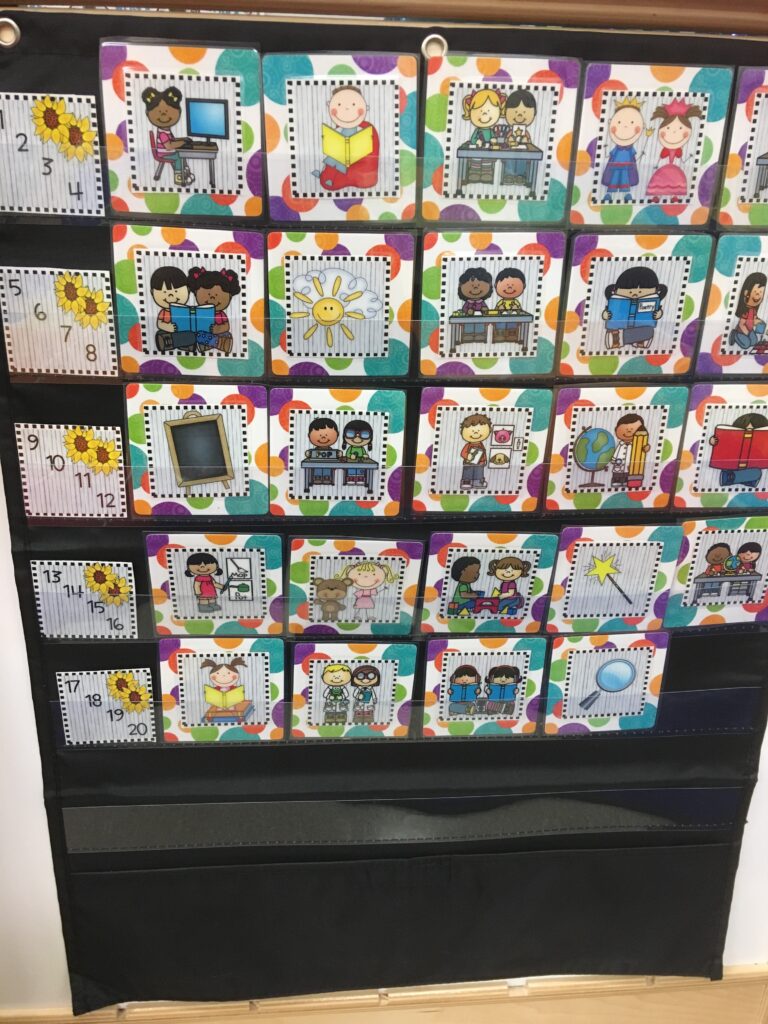
Many teachers struggle with “What do I have my fast finishers do?” I have a perfect solution! Send them to their literacy centers! I have 20 centers in my classroom on a weekly rotation. My center chart has number cards followed by 4 center cards that my students can choose from for the week. I switch my center cards each week.
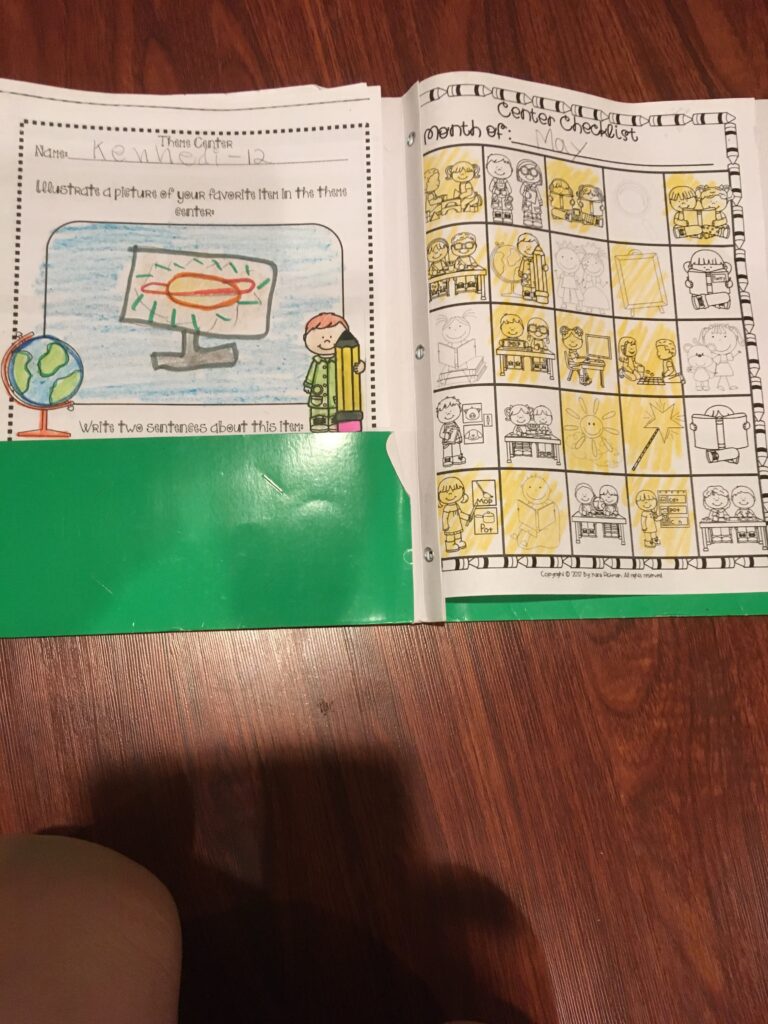
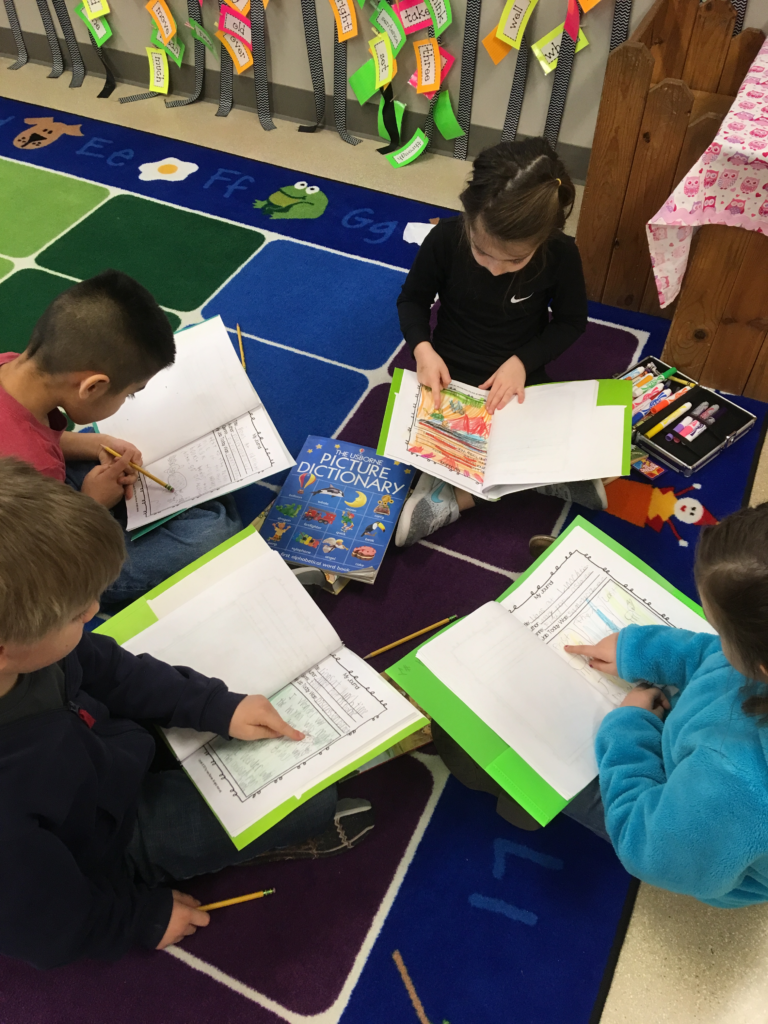
If you’re interested in reading about how I run my literacy centers, click here. Some of the centers that I have are Theme, Science, Drama, Construction, Library, Math, Geography and much more! Here are some pictures of some of my first graders engaging in my literacy centers:
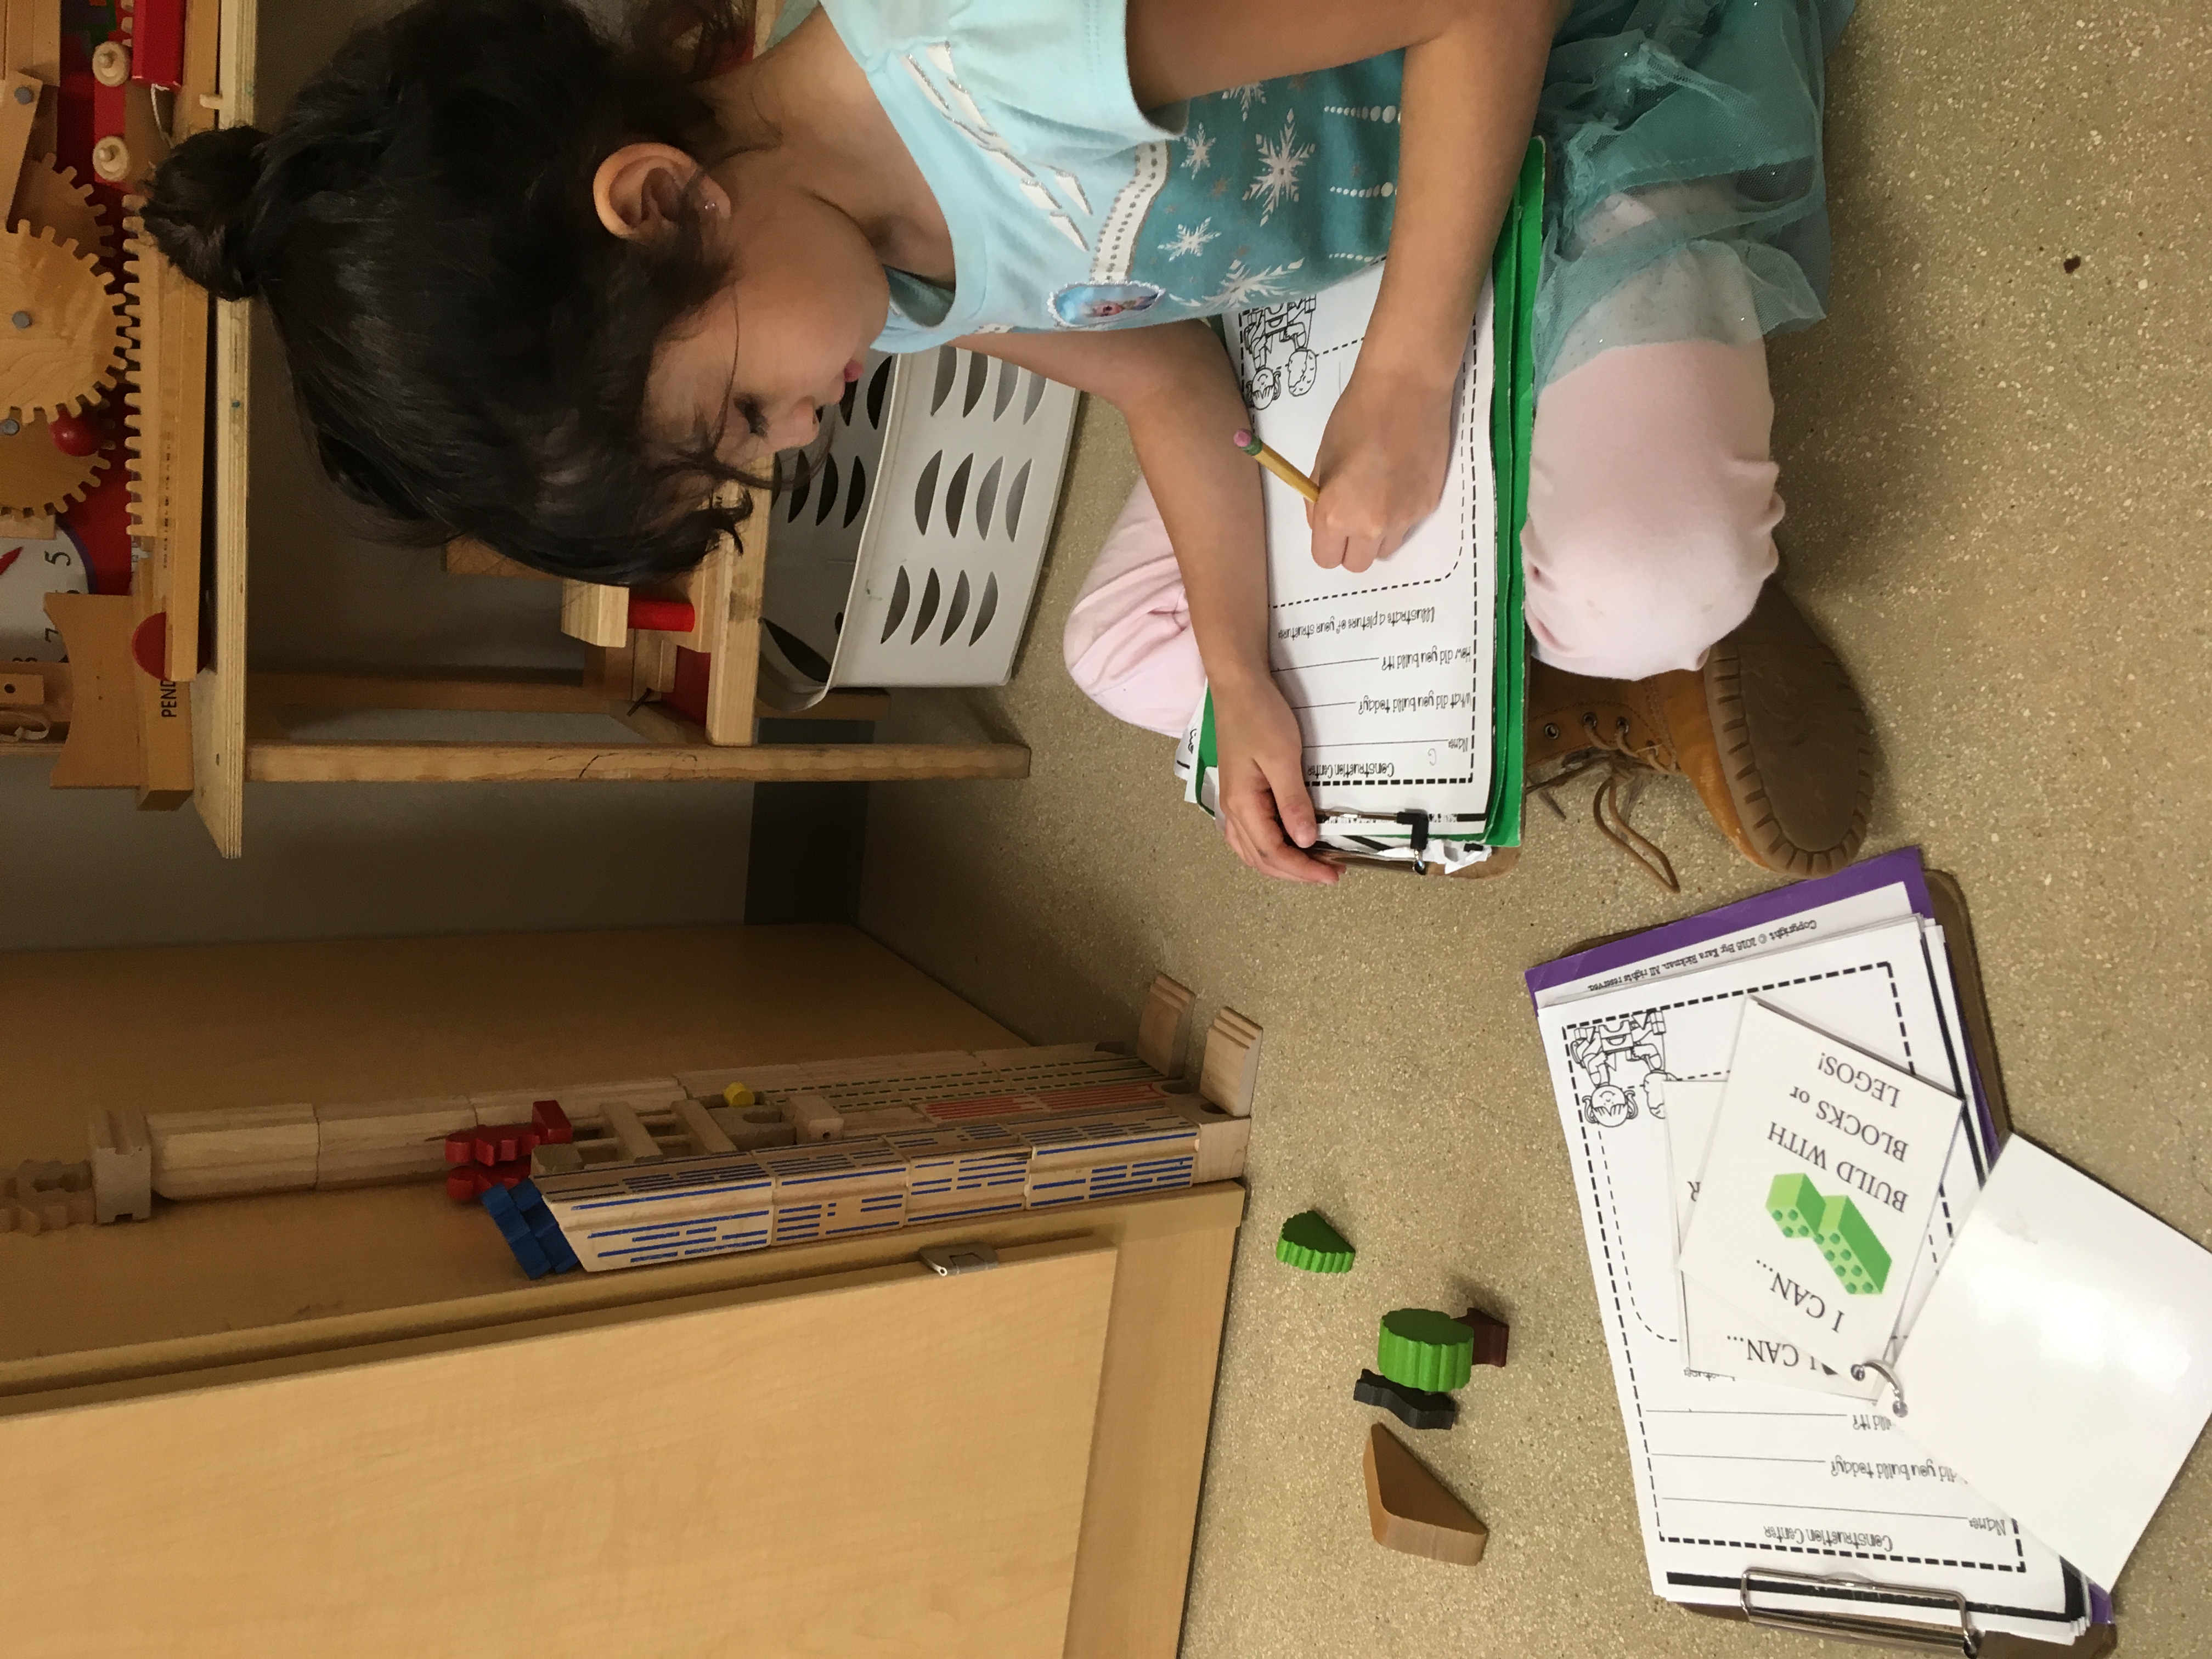

Each center has a template that my first graders have to complete and keep in their center folder. At the end of the month, they turn in all of their center pages for bonus bucks! This keeps them responsible and accountable at their centers so they don’t play around and they know they have a job to do! At the beginning of the year, you really have to take it slow and go over your rules and expectations!
6.) Reading Groups:

While my students are completing their schema notebooks and literacy centers, I pull my reading groups. I read with two groups a day. I typically have 4-5 reading groups. Here are some different groups that met different skills for my first-grade students. If you notice, I have 3 ways of grouping for the Science of Reading and 4 ways of grouping for Guided Reading. If I have a smaller class, I will combine two groups together.
Science of Reading Groups:
1.) Phonemic Awareness/Sound Wall – LOW GROUP
2.) Sound Mapping/Sentence Dictation- LOW MIDDLE GROUP
3.) Decodable Reading/Sentence Dictation – MIDDLE GROUP
Guided Reading Groups:
4.) Reading Fluency- MIDDLE or HIGH GROUP
5.) Reading Comprehension- MIDDLE or HIGH GROUP
6.) Guided Writing – ALL GROUPS
7.) Literature Circles- HIGH/GT GROUP
If you’re interested in reading more about how I group my students and what I teach for each reading group, click here.
7.) Classroom Library:
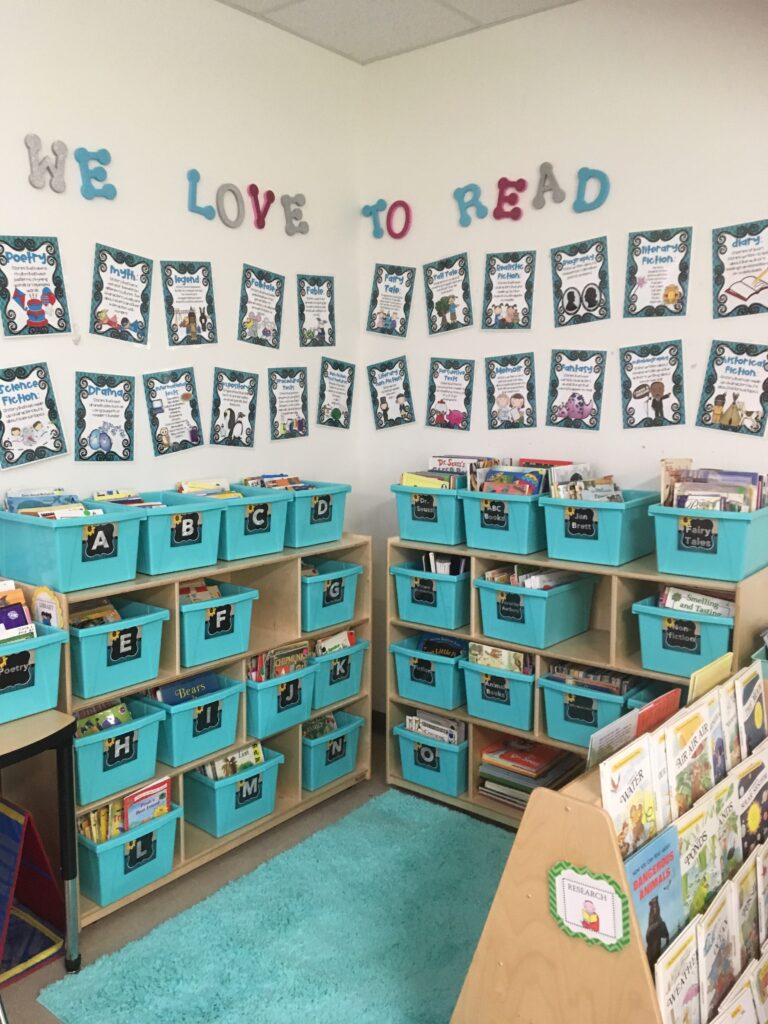
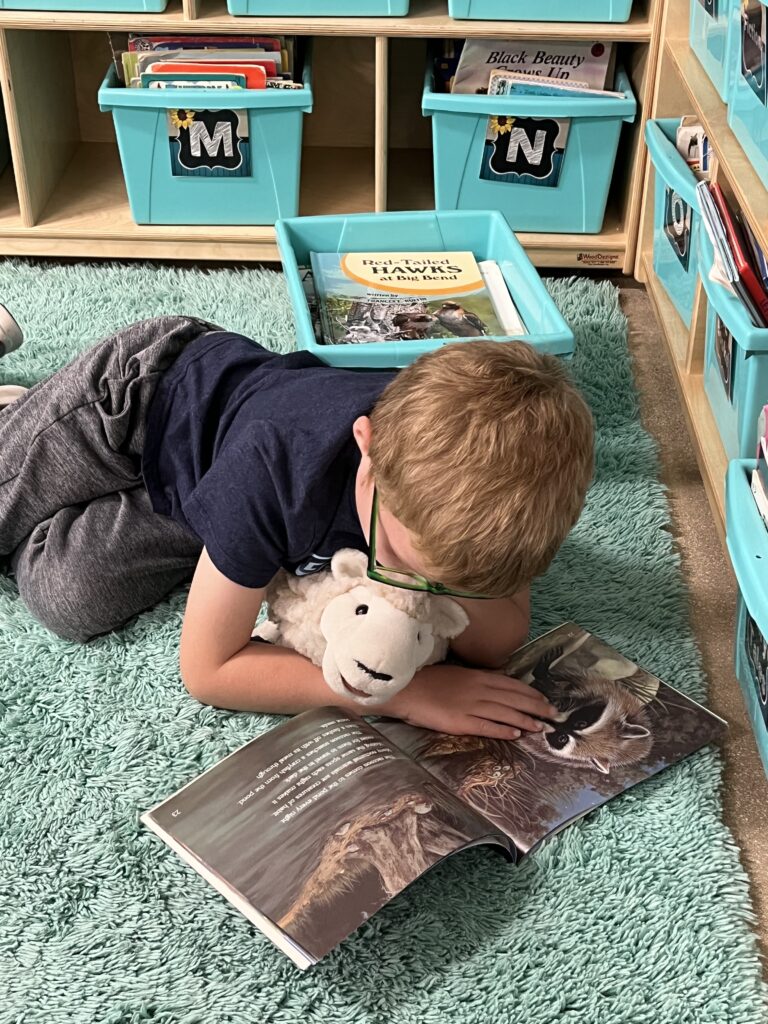
Having a classroom library is very important. You need to have your books categorized by level, genre or author. You need to also teach your students how to put the books back into the correct bin after reading them or your library will be a disaster! I have my books categorized by all three.
My students know which books to use during their independent reading time and which books they can use for center time. I have genre cards on the wall that I take down to show my students during my mini-lesson and then I put them back up. My first graders love to get a reading buddy and read!
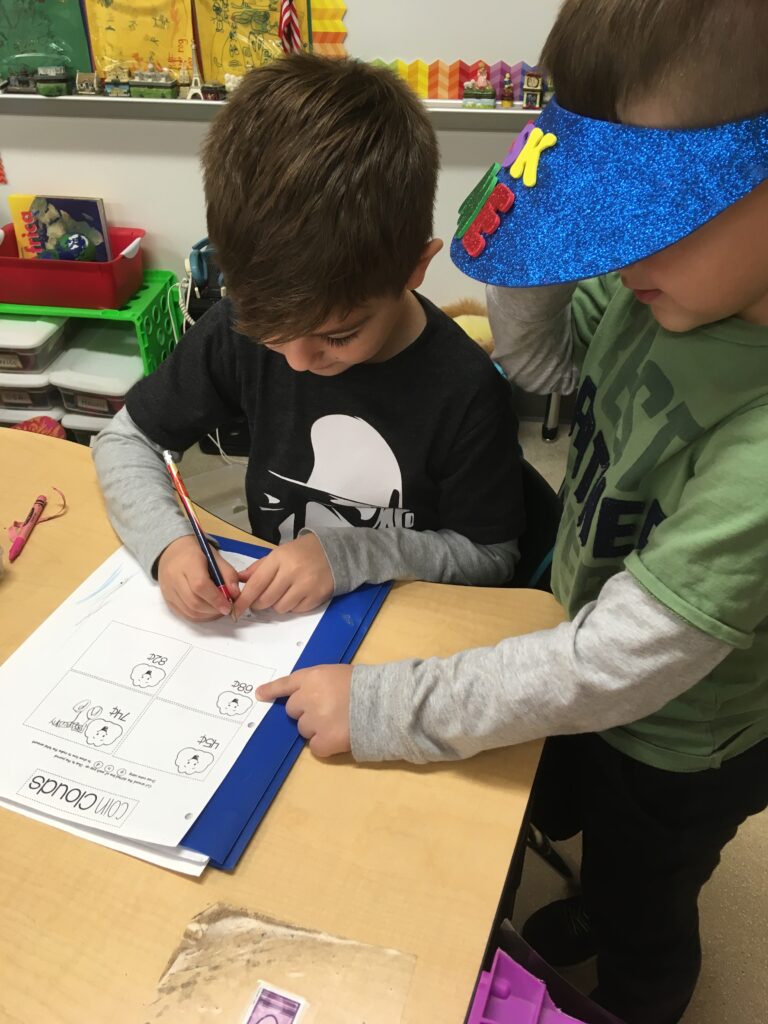
8.) Peer Facilitator:
I have a peer facilitator who walks around during my guided reading time to answer questions. He/she wears a hat that I made that says: “Ask Me”. They LOVE this job! And… I love it too because it frees me to really focus on my reading groups and not get interrupted.
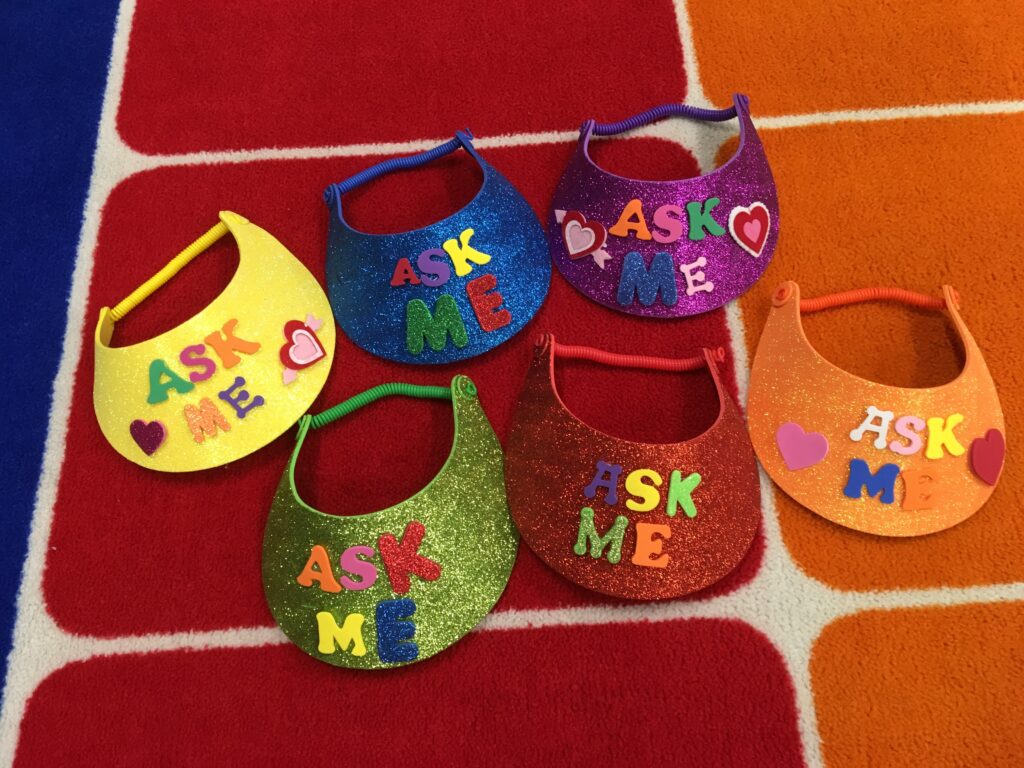
The hats that I use are the foam visors from Hobby Lobby and I hot glued foam letters that say “Ask Me”. I have 6 different colors they can choose from.
I hope you learned some great ideas on how to teach reading comprehension to your students! Please let me know if you have any questions!
Until next time, let’s take your classroom to the next level.